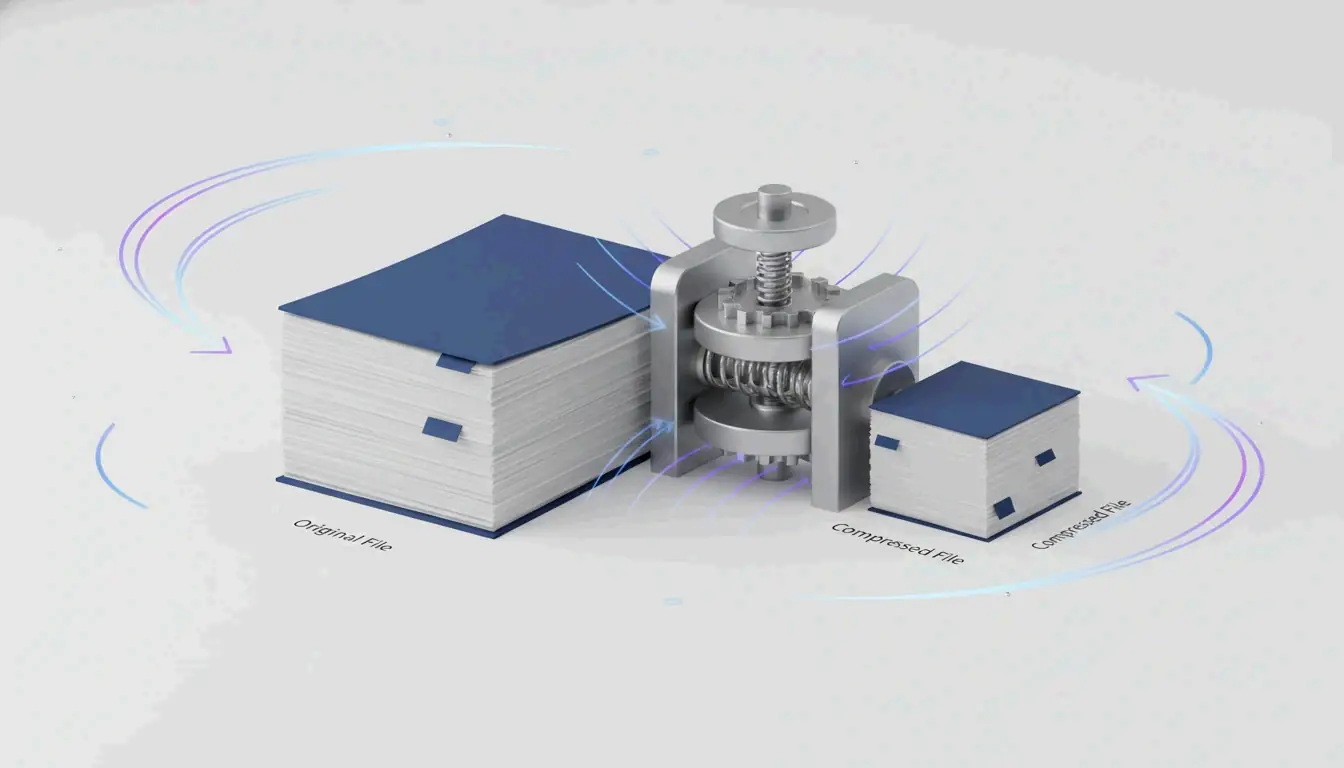
Compress PNG: Shrink Images Fast Without Losing Quality (2026)
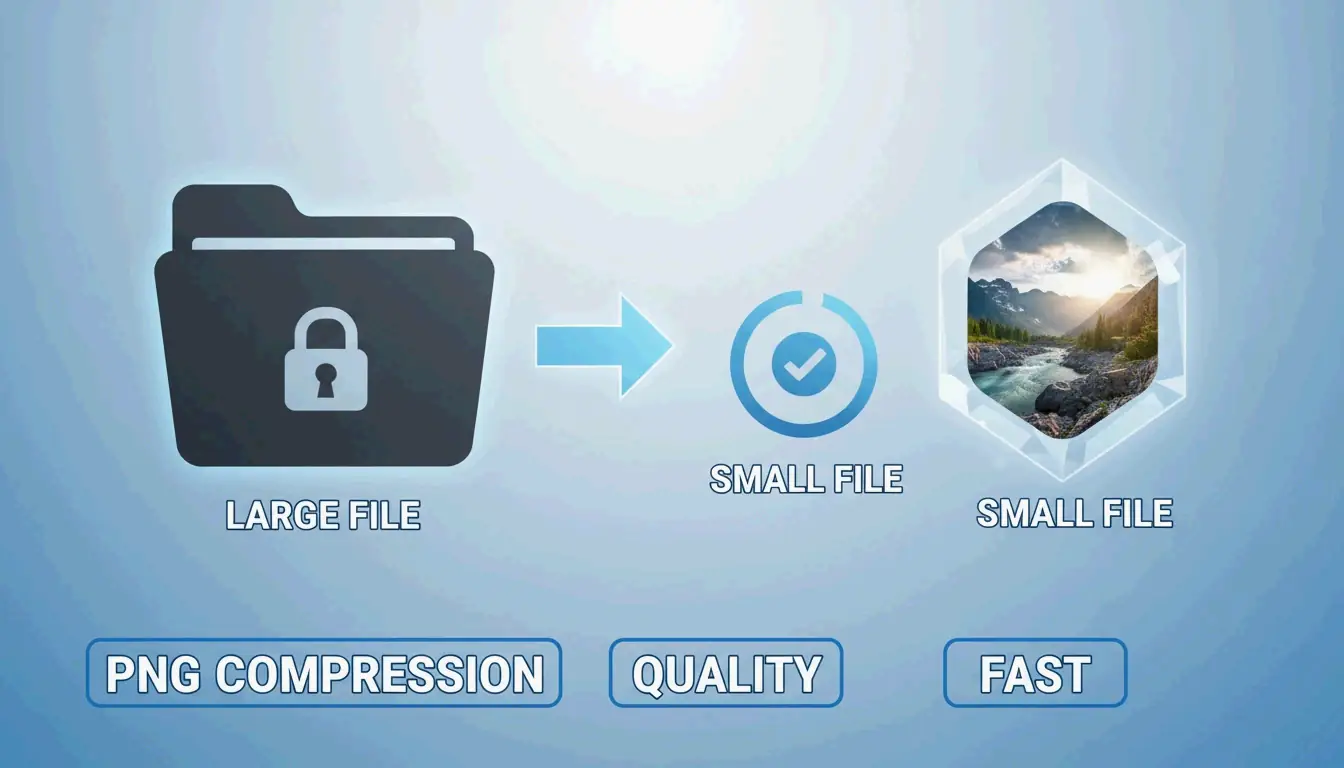
To compress PNG files fast in 2026, use browser-native WebAssembly (Wasm) tools like iKit for private local processing. For maximum savings, apply lossy quantization (8-bit color palette, up to 85% reduction) or oxipng for lossless optimization that strips metadata and optimizes DEFLATE filters without changing a single pixel.
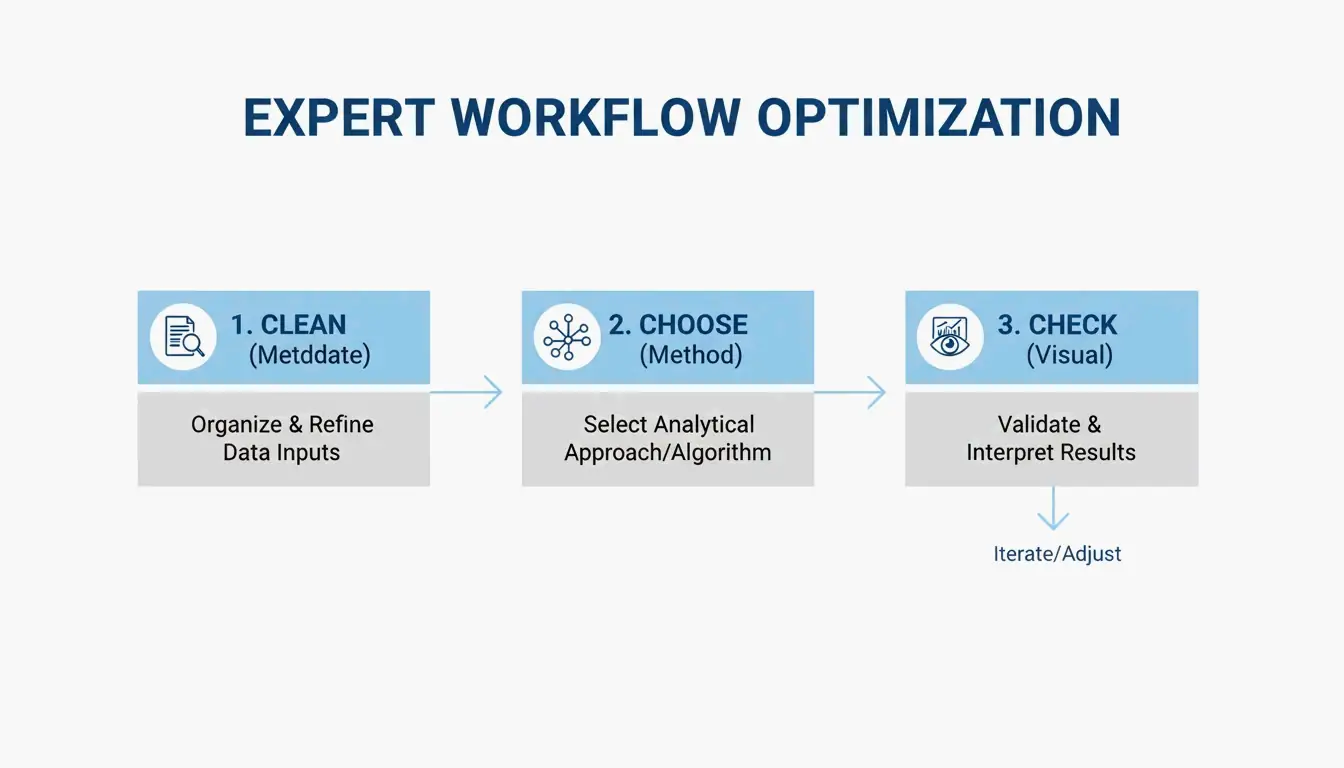
The 3-Step Fast Compression Workflow
- Strip metadata — Delete hidden EXIF data and unnecessary color profiles (quick win: up to 200KB savings per file)
- Choose your method — Lossless (pixel-perfect) or lossy quantization (visually identical, much smaller)
- Visual check — Use side-by-side comparison before publishing
The ‘No-Upload’ Workflow: Wasm-Based Local Processing
Modern tools like iKit and ToolTea use WebAssembly to process images entirely in your browser’s RAM. Your files never leave your device — faster processing and complete privacy.
iKit notes that Photoshop metadata alone can add up to 200KB of bloat — data that does nothing for web viewers.
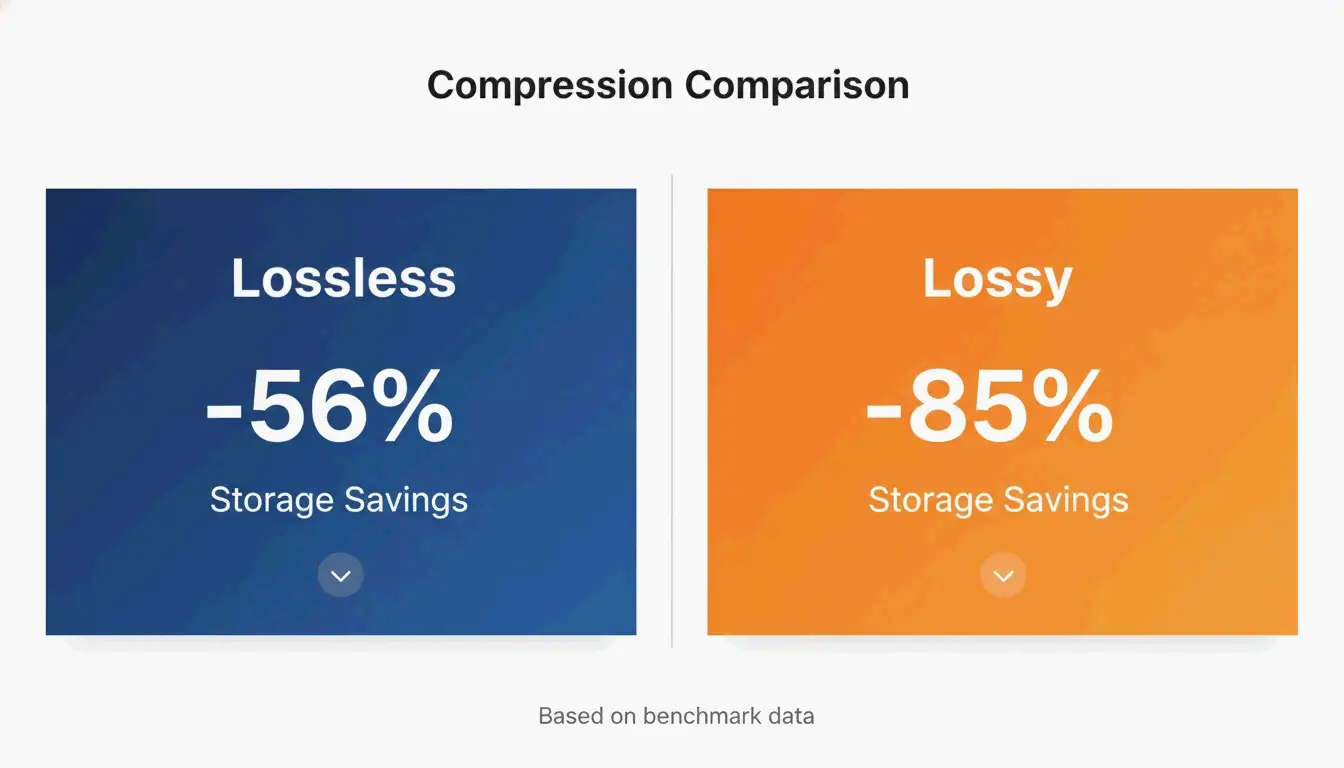
Lossless vs. Lossy Quantization
| Method | How It Works | Typical Savings | Quality Impact |
|---|---|---|---|
| Lossless (oxipng) | Optimizes DEFLATE filters + strips metadata | ~56% on UI screenshots | Zero — every pixel unchanged |
| Lossy Quantization (pngquant) | Reduces 24/32-bit → 8-bit (256-color palette) | ~85% on UI screenshots | Visually identical to the naked eye |
iKit benchmarks confirm that lossy quantization achieves 85% reduction on UI screenshots with no visible difference, compared to 56% for lossless.
Visual Artifact Guide
| Artifact Type | Cause | Where to Check |
|---|---|---|
| Banding | Aggressive color palette reduction | Smooth gradients (blue skies, blurred backgrounds) |
| Color bleeding | Insufficient chroma subsampling | Thin colored lines (use 4:4:4 to prevent) |
| Edge softness | Rare in PNG — mostly a JPEG issue | Text and icon borders stay sharp in PNG |
Key advantage: Unlike JPEG compression, PNG quantization keeps text edges and icon borders perfectly crisp.
When to Switch: PNG vs. WebP vs. AVIF
| Format | vs. PNG Size | Transparency | Browser Support | Best For |
|---|---|---|---|---|
| PNG | Baseline | Yes | Universal | Logos, icons, pixel-perfect UI |
| WebP | 25–35% smaller | Yes | 97%+ | General web images |
| AVIF | 50–70% smaller | Yes | 92%+ | Maximum compression, photos |
SammaPix notes that WebP is 25–35% smaller than PNG at equivalent quality. AVIF beats WebP by another 20–30%. For pure web performance, consider converting.
PNG 3.0 Update (June 2025)
PNG is not standing still:
| Feature | Impact |
|---|---|
| HDR support | High dynamic range for modern displays |
| Official APNG | Animated PNGs now a W3C Recommendation |
| Improved Exif chunks | Cleaner metadata handling |
CLI Batch Processing for Developers
oxipng (v9.1.1) — Lossless Batch
Built in Rust, significantly faster than older tools:
oxipng -o max --strip safe *.png

# Integrate into build pipeline
find ./assets -name "*.png" -exec oxipng -o 4 --strip all {} \;
pngquant (v3.0) — Lossy Batch
Converts 32-bit PNGs to 8-bit palettes in bulk:
# Batch compress to 256 colors
pngquant --force --quality=65-80 --ext .png *.png

# Target specific speed
pngquant --speed 1 --quality=70-85 --output ./optimized/ *.png
iKit recommends integrating these into your design system or CI pipeline so no unoptimized image reaches production.
SEO Impact: Why PNG Compression Matters
SammaPix reports that the LCP element is an image on 70% of all web pages. Heavy PNG files slow down LCP, hurting both user experience and search rankings.
Action plan:
1. Strip metadata for an instant win (up to 200KB per file)
2. Use oxipng for logos and text graphics where every pixel matters
3. Use pngquant for UI screenshots and illustrations (85% savings)
4. For maximum web performance, convert to WebP or AVIF
Conclusion
PNG compression in 2026 means choosing the right algorithm: oxipng for lossless precision, pngquant for aggressive savings, and Wasm browser tools for private, fast processing. PNG 3.0 brings modern features, but WebP/AVIF remain superior for pure web performance. Integrate CLI tools into your build pipeline to ensure no unoptimized images reach production.
FAQ
Does compressing a PNG make it blurry?
Lossless compression never causes blurriness — pixels are unchanged. Lossy quantization may cause “banding” in smooth gradients if the color palette is reduced too aggressively, but keeps text and icon edges perfectly sharp (unlike JPEG artifacts).
How do I compress a PNG to exactly 20KB or 100KB?
Use tools with a “target size” mode or quality slider. If lossless compression isn’t enough, resize pixel dimensions first (e.g., to 400×400px) then apply 8-bit quantization per Combine JPG.
Is it safe to use online compressors for private images?
Only if the tool uses local WebAssembly processing (e.g., iKit or ToolPix). These process in your browser’s RAM — files are never uploaded. Avoid any tool requiring a server upload for sensitive content.
SectoJoy
Let Compress publishes practical guides for compression, conversion, and browser-based file workflows.
Follow SectoJoy