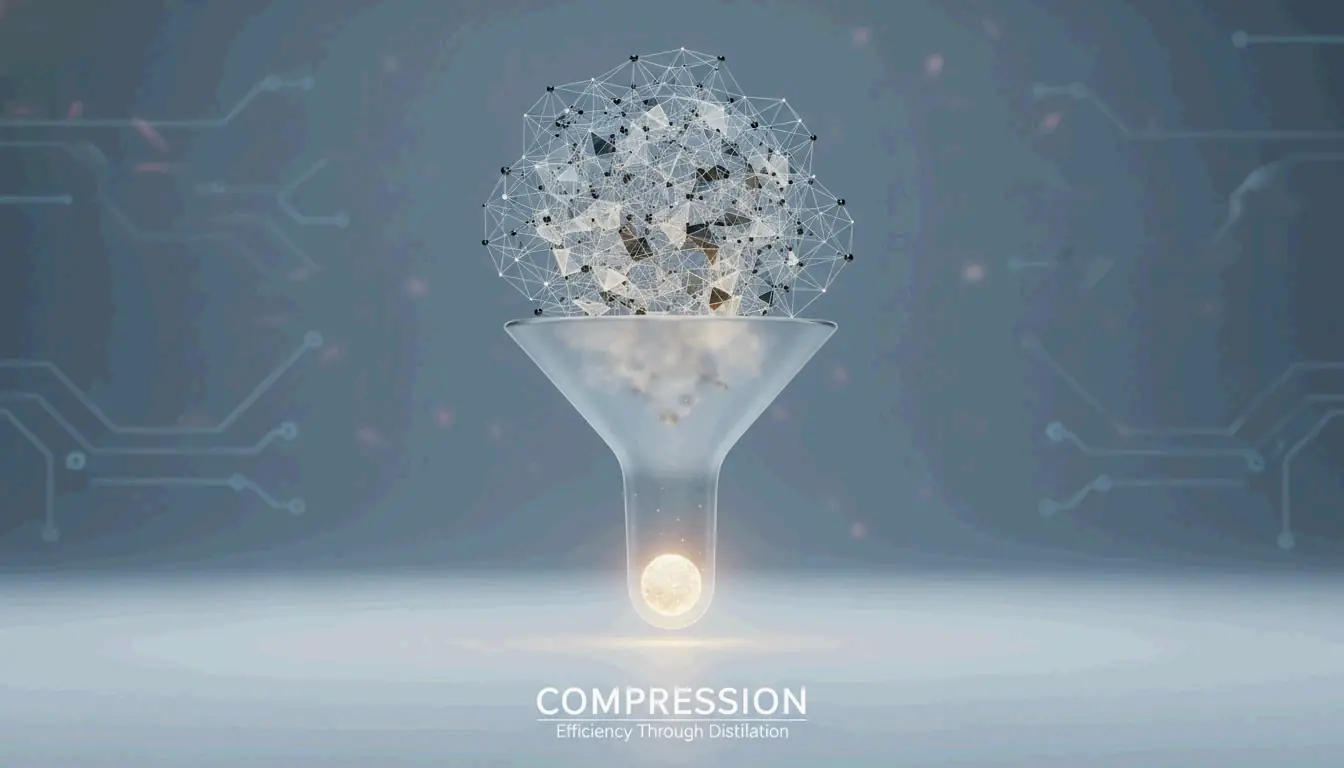
How to Compress a Video Without Losing Quality: Codec, Bitrate & Tools (2026)
To compress a video without losing quality in 2026, re-encode with AV1 or H.265 (HEVC) — both are roughly 50–60% more efficient than H.264. Use VBR 2-pass encoding with a target of 5–10 Mbps for 1080p to achieve perceptually lossless output. Free tools like Handbrake handle this in a few clicks.
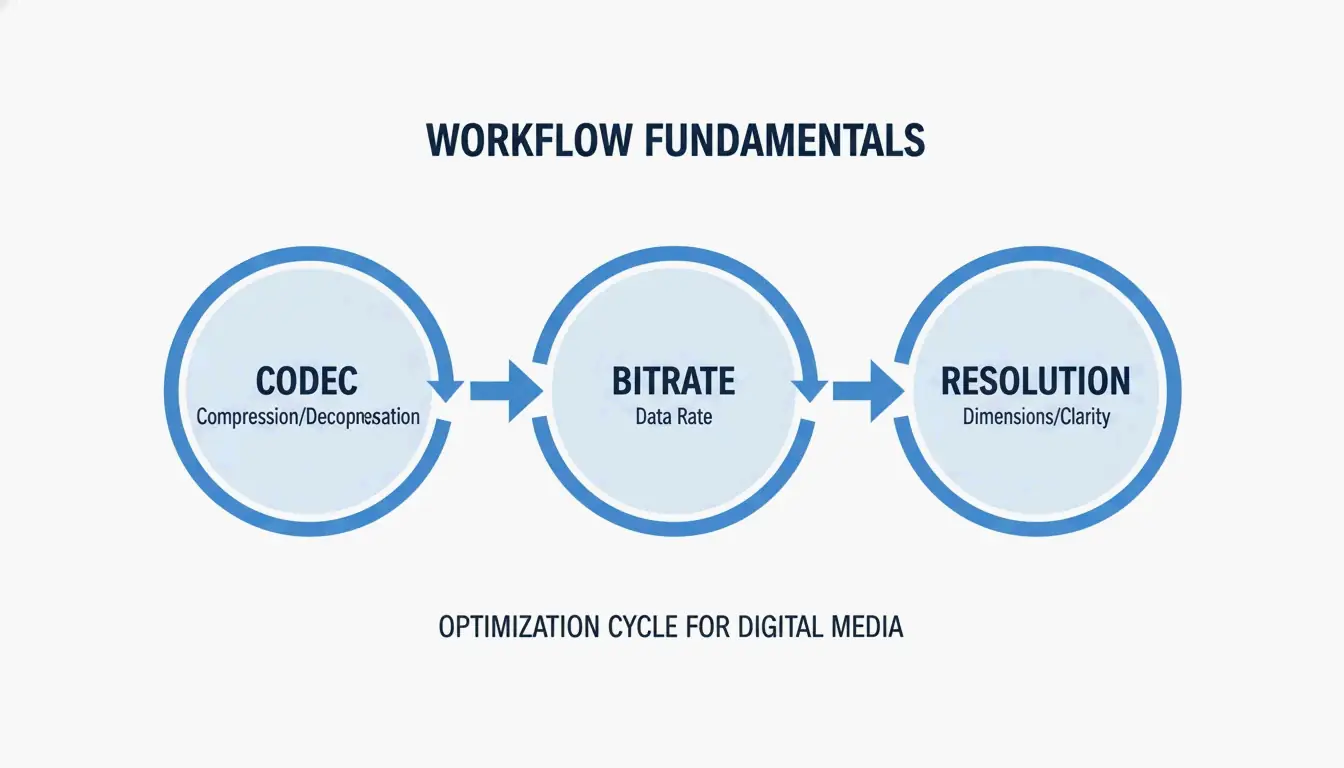
The Three Pillars of Video Compression
Effective compression comes down to three decisions:
- Codec — The algorithm that encodes your video data
- Bitrate — How much data per second you allocate
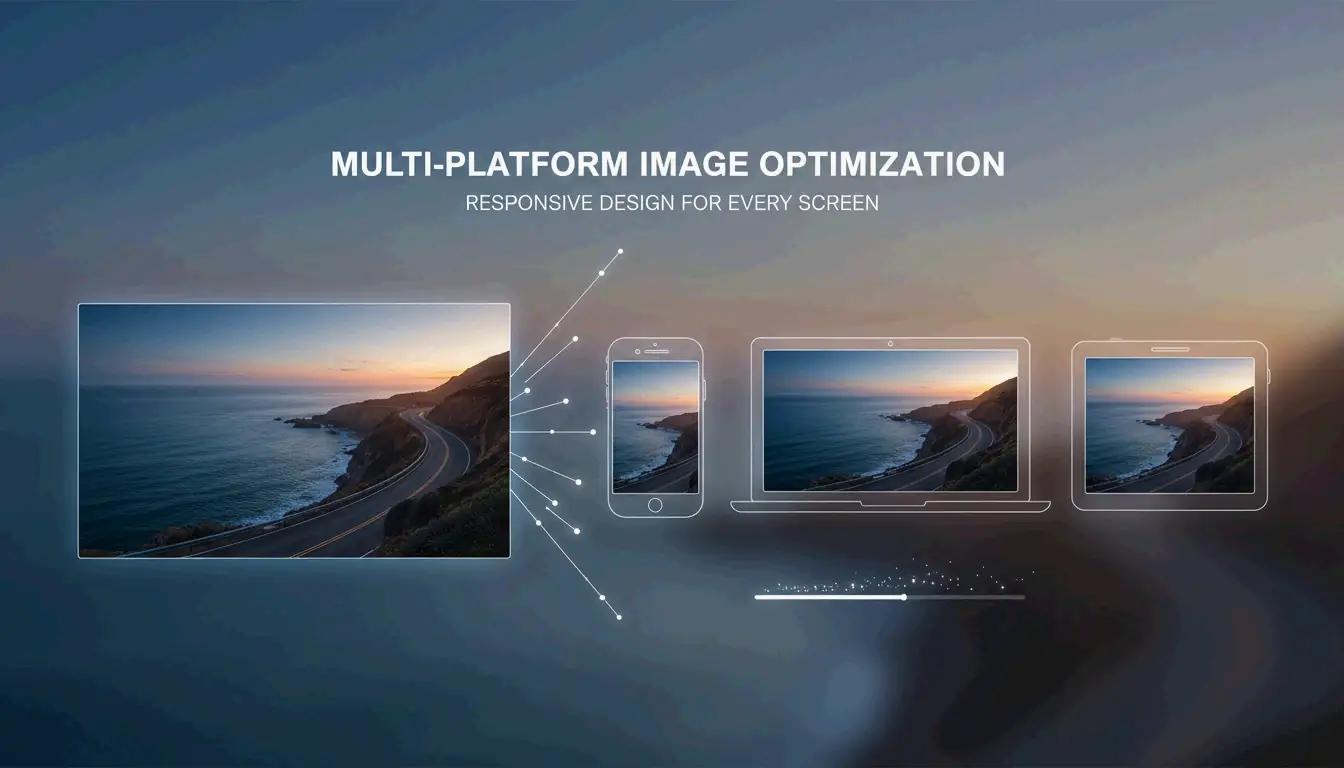
- Resolution — Matching pixel count to the actual display
Codec Selection: AV1 vs. HEVC vs. H.264
| Codec | Efficiency vs. H.264 | Royalty | Best For | Device Support |
|---|---|---|---|---|
| AV1 | ~63% smaller | Free (open-source) | Web streaming, YouTube | Modern browsers, 2022+ hardware |
| H.265 (HEVC) | ~50% smaller | Licensed | 4K HDR, mobile playback | Phones, tablets, smart TVs |
| H.264 (AVC) | Baseline | Licensed | Maximum compatibility | Everything (15+ years) |
Research from MDPI (2024) confirms AV1 saves approximately 63% on bitrate compared to H.264 at equivalent quality.
Recommendation: Use AV1 for web content. Use HEVC for mobile and 4K. Use H.264 only when you need to support very old devices.
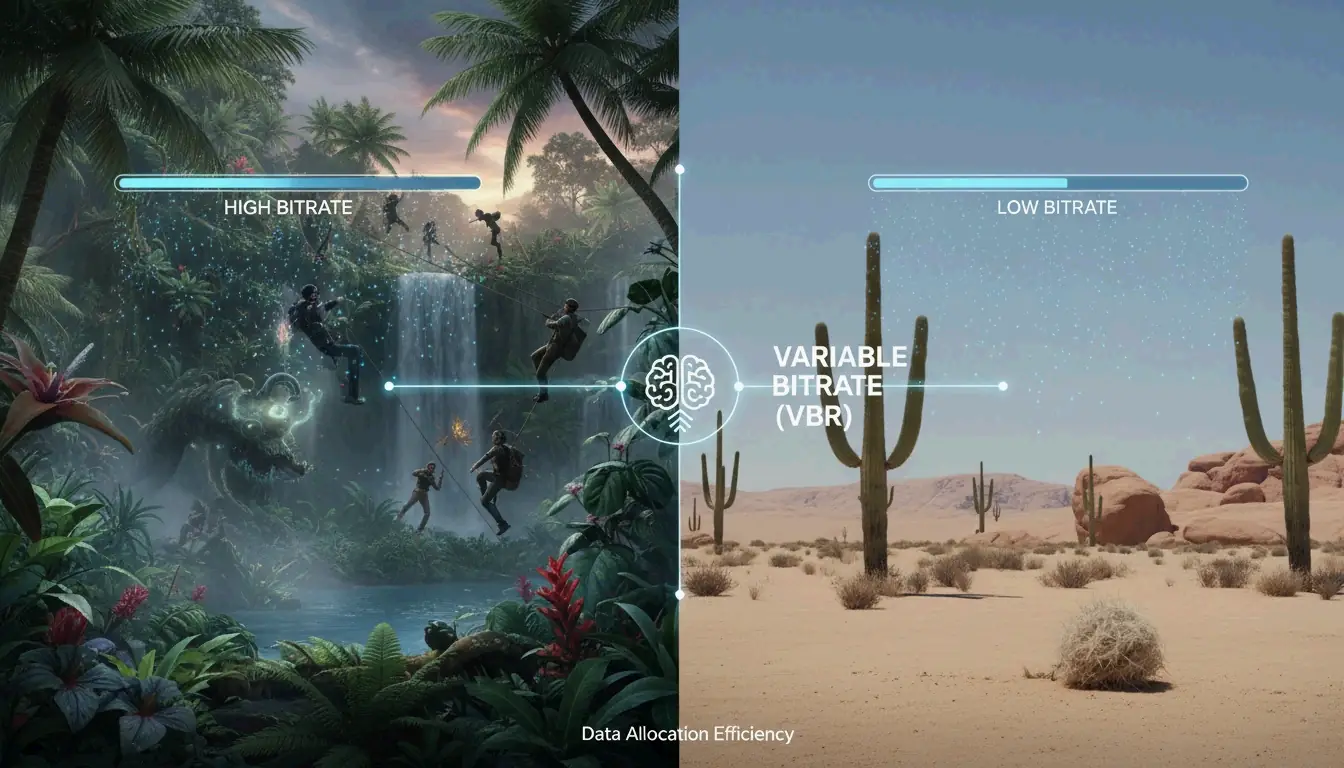
Bitrate Management: Why VBR 2-Pass Wins
Constant Bitrate (CBR) uses the same data for every frame — wasteful for static scenes and insufficient for action. Variable Bitrate (VBR) is smarter: it allocates more data to complex, high-motion scenes and saves space on static backgrounds.
VBR 2-pass encoding scans the entire video first (pass 1), then distributes the data budget optimally (pass 2). This prevents blockiness during fast movement.
2026 Bitrate Targets
These are H.264 targets. For H.265 or AV1, reduce by 30–50%:
| Resolution | Web / Social | High Quality / Archive |
|---|---|---|
| 4K (2160p) | 35–45 Mbps | 50–65 Mbps |
| 1080p (Full HD) | 8 Mbps | 12 Mbps |
| 720p | 5 Mbps | 8 Mbps |
Swarmify notes that H.265 at RF 22 cuts file sizes by 40–50% with no visible loss on 1080p screens.
Best Tools for Video Compression
| Tool | Type | Best For | Key Feature |
|---|---|---|---|
| Handbrake | Desktop (free) | Full control, any format | Manual codec/bitrate/VBR settings |
| FFmpeg | CLI (free) | Batch processing, automation | ffmpeg -i input.mp4 -vcodec libx265 -crf 28 output.mp4 |
| VEED.io | Online | Quick social clips (<500MB) | Automatic optimization |
| FreeConvert | Online | One-off jobs, no install | Browser-based |
| NVIDIA NVENC | GPU hardware | 4K processing speed | 5x faster than CPU encoding |
HitPaw notes that GPU-accelerated encoding processes 4K video up to 5x faster than CPU-only methods.
FFmpeg Quick Commands
ffmpeg -i input.mp4 -vcodec libx265 -crf 28 output.mp4

# Compress to AV1 (60%+ smaller, slower encoding)
ffmpeg -i input.mp4 -vcodec libaom-av1 -crf 30 output.mp4

# Target specific bitrate (VBR 2-pass)
ffmpeg -i input.mp4 -vcodec libx265 -b:v 5M -pass 1 -an /dev/null
ffmpeg -i input.mp4 -vcodec libx265 -b:v 5M -pass 2 output.mp4
Platform-Specific Rules
Every platform re-compresses your upload. Pre-optimizing prevents double-compression artifacts:
| Platform | Limit | Recommended Settings |
|---|---|---|
| Discord (free) | 25 MB | Downscale to 720p, H.265, target ~200/seconds of video |
| YouTube | No hard limit | Upload high-bitrate “master” (12+ Mbps 1080p); YouTube re-encodes |
| Email (Gmail) | 25 MB | Compress to 720p, 2-3 Mbps, or use a link instead |
| Website / SEO | Under 5 MB ideal | AV1 or WebM, 5-8 Mbps 1080p |
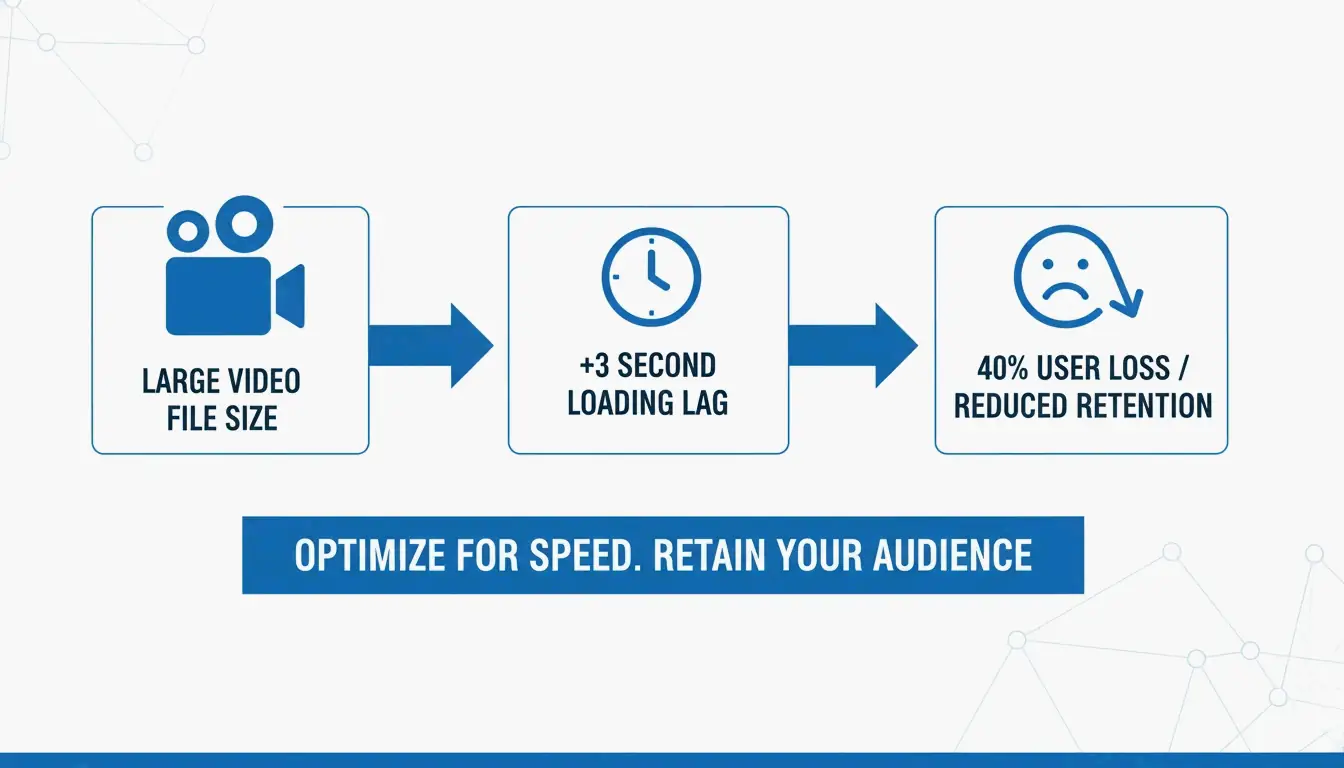
Tooltester (2026) reports 40% of users abandon sites that take longer than 3 seconds to load — often caused by unoptimized video.
Hidden Savings: Audio and Metadata
- Audio bitrate: Switch to 128 kbps AAC — sufficient for web video and saves up to 15% total file size
- Metadata stripping: Remove EXIF data and silent audio tracks from background/hero videos
- AI-driven optimization: SmartVideo automatically selects the best codec based on viewer bandwidth
Conclusion
Video compression in 2026 means using the right codec (AV1 or HEVC), smart bitrate management (VBR 2-pass), and matching resolution to your display target. Start with Handbrake, pick an AV1 or H.265 preset, and use the bitrate cheat sheet above. You can cut file sizes by 60%+ with no visible quality loss.
FAQ
Does lowering FPS significantly reduce file size?
Yes. Dropping from 60 FPS to 30 FPS reduces size by 20–30% (fewer frames to encode). Best for interviews and tutorials. Avoid for sports or gaming content where smooth motion matters.
What is the best video codec in 2026?
AV1 wins on efficiency (60%+ smaller than H.264) and is now supported by most browsers. H.265 (HEVC) remains the best for broad device compatibility (phones, tablets, 4K TVs) with a solid 50% size reduction.
How do I hit Discord’s 25MB limit without pixelation?
Use H.265 codec. Calculate bitrate: 200 ÷ video length in seconds. Downscale 1080p to 720p — fewer pixels means each one gets more data, producing a clearer image at low bitrates.
SectoJoy
Let Compress publishes practical guides for compression, conversion, and browser-based file workflows.
Follow SectoJoy