调整图片大小:网页与社交媒体快速照片尺寸指南(2026)
要在 2026 年高效使用这份调整图片大小快速指南,可以借助 Adobe Express 这类工具快速调整像素尺寸——例如 Instagram 用 1080x1350px,网页横幅用 1200px。务必锁定纵横比,优先选用 WebP/AVIF 格式以加快加载,并以 80% 质量保存 JPEG,让图片清晰又不拖慢网站。
快速上手:如何调整图片大小而不损失画质?
调整图片大小意味着改变它的总像素数,从而调整物理尺寸和文件体积。据 O’Brien Media 介绍,合理调整可将文件缩小 80%。这能把一张臃肿的 4MB 照片变成精简的 200KB 文件,在数字屏幕上依旧赏心悦目。
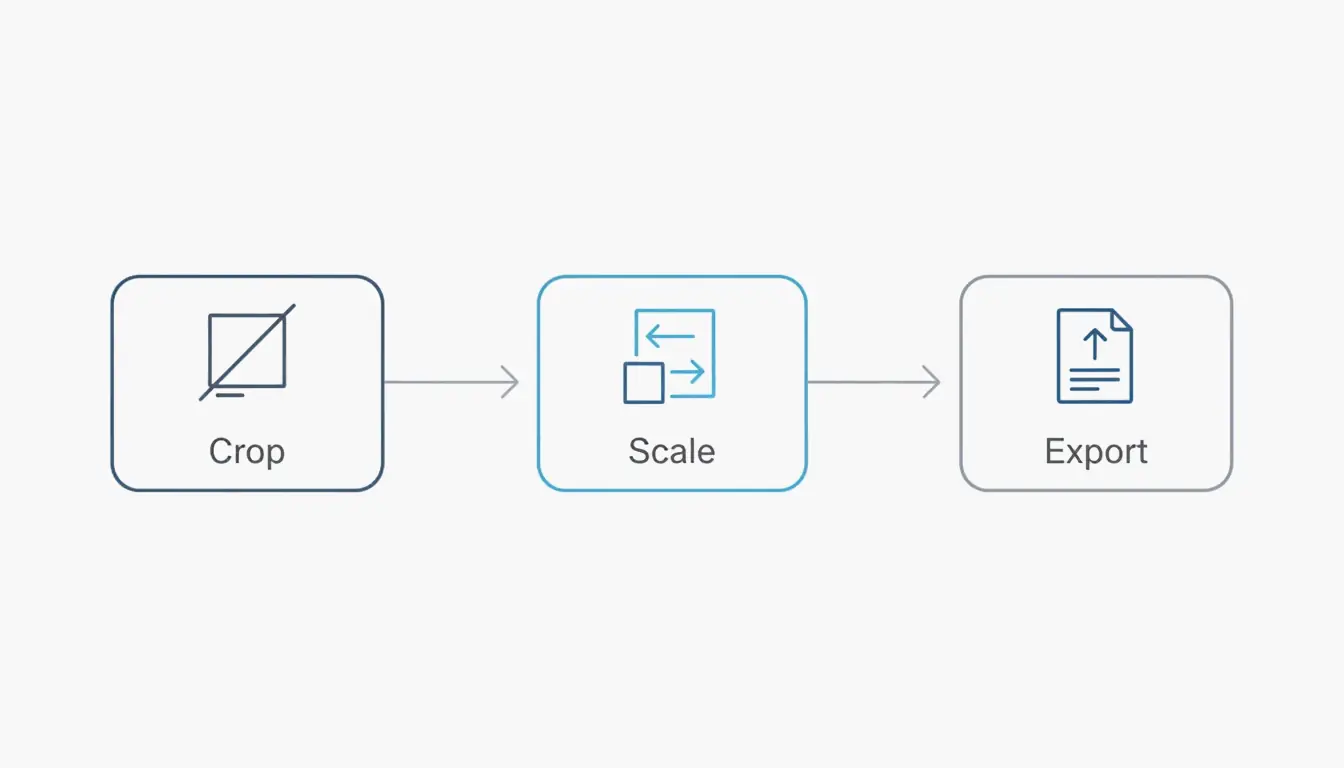
专业工作流遵循简单的三步顺序:裁剪、缩放、导出。首先,把图片裁成目标形状,避免后续被拉伸。其次,把像素缩放到所需宽度。最后,用一种现代高效的格式导出。最重要的规则是保持纵横比;如果不锁定这个设置,图片最终会显得「被压扁」或扭曲。
缩小图片时,高质量工具会使用「Bicubic Sharper」这类插值算法。这项技术能干净利落地处理像素删除,重新计算剩余数据以保持边缘锐利。你可以随意缩小图片,但放大(上采样)则更棘手。它迫使软件「凭空创造」新像素,通常会导致模糊,除非你使用基于 AI 的生成式放大工具。
分步指南:网页与社交媒体的调整差异
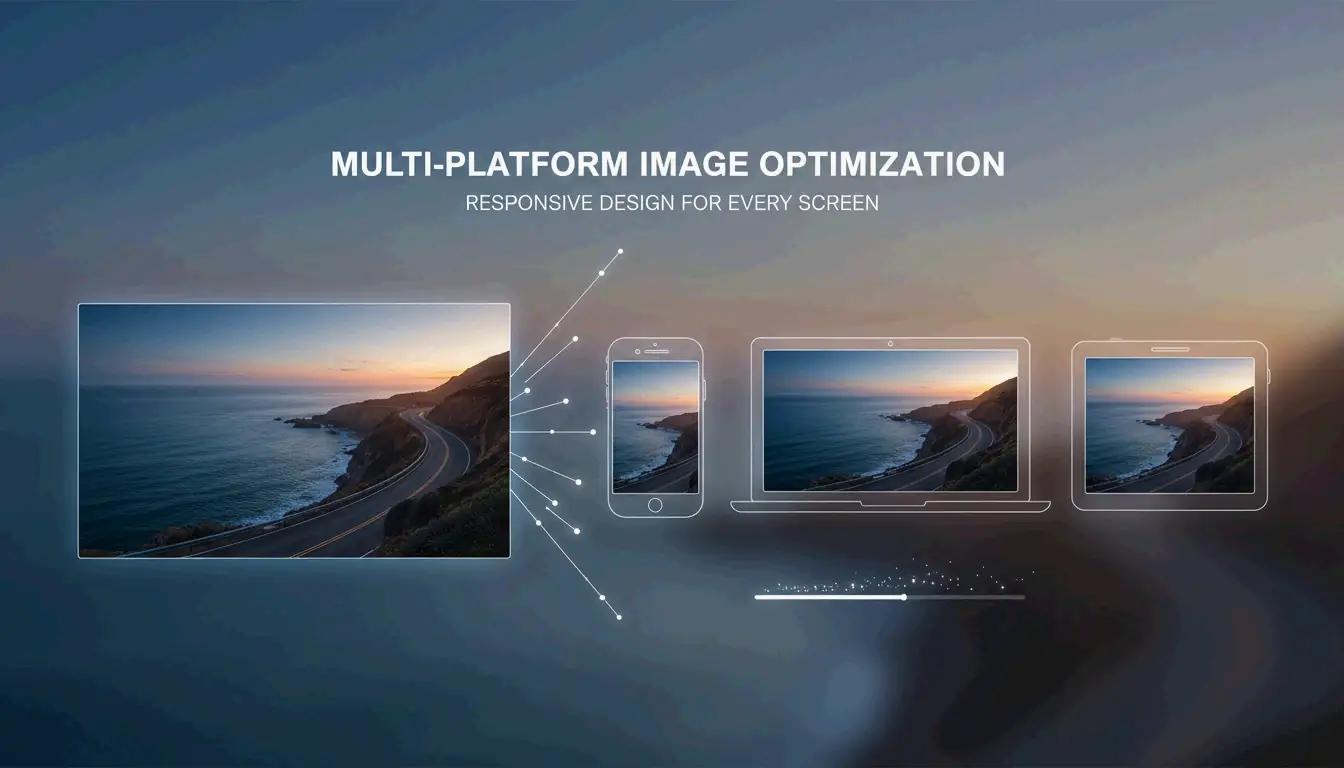
网页图片要轻以便提速,而社交媒体图片需要适配特定容器,以免平台裁掉照片的重要部分。
- 选择工具:用 Adobe Express 做快速的浏览器端编辑,或在 Android 上用 Photo & Picture Resizer 这类应用。
- 输入尺寸:博客文章选 1200px 到 1600px 宽,Instagram 选 1080px。
- 锁定比例:确保「保持比例」或链条图标处于激活状态。
- 保存:照片下载为 JPEG,透明背景的图形下载为 PNG。
2026 速查表:标准像素尺寸有哪些?
在 2026 年,像素尺寸是用户和算法看待你内容的主要因素。如果你把手机拍的 4000px 巨幅照片上传到一个只显示 1080px 的网站,就是在浪费数据。更糟的是,平台可能会用它自己粗暴的压缩来缩小图片,这往往会毁掉画质。
为获得最佳互动,4:5 竖版比例(1080 x 1350 px)是当前的金标准。Picssizer 2026 的数据显示,这种格式效果最好,因为它在移动信息流中占据了更多「屏幕空间」。相比方形图片,它确实迫使用户多滚动一会儿才能划过你的帖子。
网站方面,填满桌面屏幕的「主视觉」图片应保持在 1920px 宽左右。对于标准博客图片或网格缩略图,1200px 通常是性能的最佳平衡点。
2026 社交媒体尺寸矩阵(Instagram、TikTok、LinkedIn)
在不同平台发帖时,你需要一套「安全区」策略。对于 Reels 和快拍(1080 x 1920 px)这类竖版内容,把文字和面部放在中间 1080 x 1420 px 区域内。这能确保它们不会被按钮、字幕或头像图标遮挡。
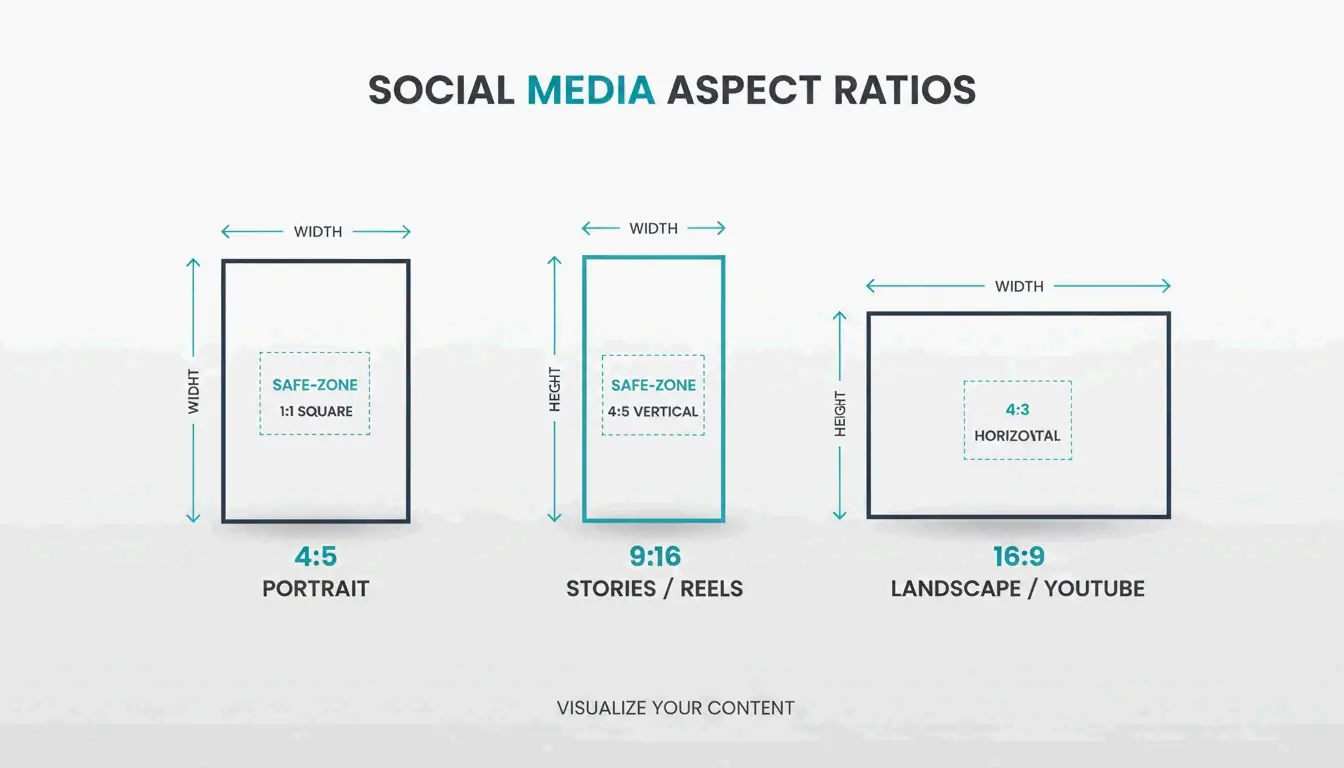
- Instagram 信息流:1080 x 1350 px(竖版)或 1080 x 1080 px(方形)。
- TikTok/Reels:1080 x 1920 px(9:16 比例)。
- LinkedIn 头像:400 x 400 px。
- YouTube 缩略图:1280 x 720 px。
- 网页横幅:1920 x 1080 px(满幅)或 1200 x 400 px(紧凑)。
JPEG 对比 PNG 对比 AVIF:为速度选择正确格式
选择正确的文件格式与选对尺寸同样重要。JPEG 仍是标准摄影的首选,因为它能很好地处理复杂色彩。PNG 最适合徽标或任何需要透明背景的图形。
不过到 2026 年,WebP 和 AVIF 已成为网页性能的标准。这些格式提供更好的压缩,通常在不损失画质的情况下让文件比 JPEG 小 30%。这对邮件尤其有用。一项关于邮件附件限制的案例研究发现,把一张 5MB 照片缩小到 400KB(10:1 的缩减)能让你发送多个附件而不触发「邮件过大」错误。
关于 DPI(每英寸点数),72 DPI 仍是网页标准。虽然高质量打印需要 300 DPI,但在数字屏幕上使用高 DPI 只会撑大文件体积,并不会让图片在观感上更好。
效率技巧:批量调整与手机原生快捷指令
如果你在策划一次活动或更新整个网站,逐张调整图片太费时间。批量调整工具能让你在几秒内处理超过 100 张图片。在电脑上,Quick Photo Resizer 这类应用让你拖放整个文件夹一次性调整全部。
对手机用户来说,iOS 26 让你可以创建一个「调整大小」快捷指令。一旦在原生快捷指令应用中设置好,你就能从相册选图并瞬间缩放到特定宽度(如 1080px)。在 Android 上,「文件」应用和 Photo & Picture Resizer 等工具提供「快捷操作」,在点击分享前直接降低分辨率。
结论
调整尺寸不仅仅是为了节省空间,更是为了让你的图片契合平台算法和用户期望。在 2026 年,专业感取决于是否精确匹配目标平台的像素尺寸。通过锁定纵横比并使用 WebP 等现代格式,你将确保视觉内容在每个屏幕上都加载迅速、清晰锐利。
行动建议:今天就检查你的网站或社交媒体主页。如果发现任何超过 2MB 的图片,按这些 2026 标准调整尺寸,以改善 SEO 并留住受众。
常见问题
为什么我的图片上传到 Instagram 后看起来模糊?
Instagram 会自动压缩任何宽度超过 1080px 的图片。为保持画质,上传前请将图片精确调整为 1080px 宽。确保使用 4:5 或 1:1 比例以避免自动裁剪,并检查 Instagram 账户设置中是否开启了「高质量上传」开关。
调整大小和裁剪有什么区别?
调整大小通过改变总像素数缩放整张图片,同时保持所有视觉内容完整。而裁剪是移除图片的外边缘,以改变构图或纵横比。为获得最佳效果,先将照片裁剪到正确比例,再调整到所需的像素尺寸。
我能把图片放大而不损失画质吗?
标准调整大小(即上采样)通常会导致马赛克,因为软件必须「猜测」缺失的数据。在 2026 年,建议使用基于 AI 的「生成式放大工具」,它们能重建缺失的细节。不过,最佳做法始终是从尽可能高分辨率的源文件开始,再进行缩小。
不用第三方应用,如何在 iPhone 上调整照片大小?
你可以使用原生「快捷指令」应用创建一个自动将图片调整到设定宽度的操作。另一个快捷小技巧是使用「邮件」应用:把照片发给自己,iOS 会提示你选择「小」「中」或「大」尺寸,从而有效地为你调整文件大小。
SectoJoy
Let Compress publishes practical guides for compression, conversion, and browser-based file workflows.
Follow SectoJoy