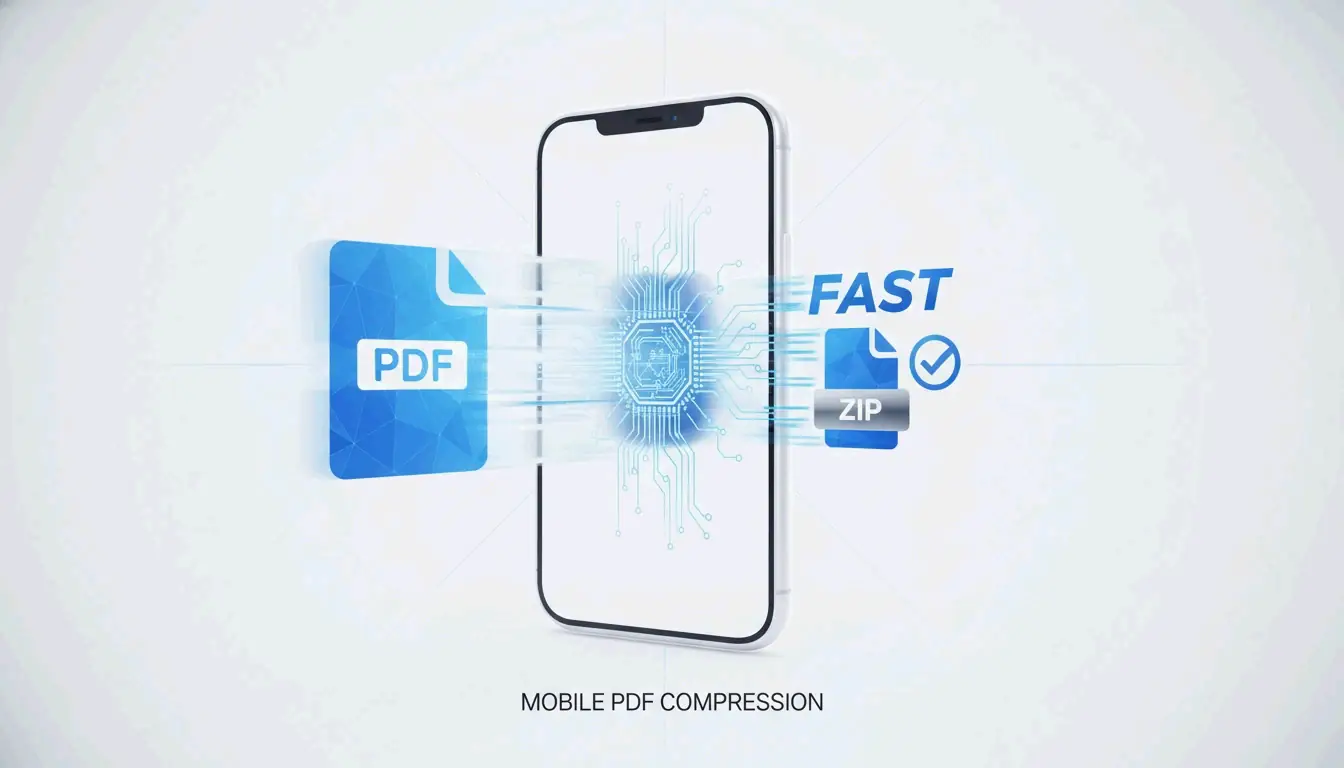
How to Compress PDF on iPhone: 3 Quick Ways to Reduce File Size (2026)
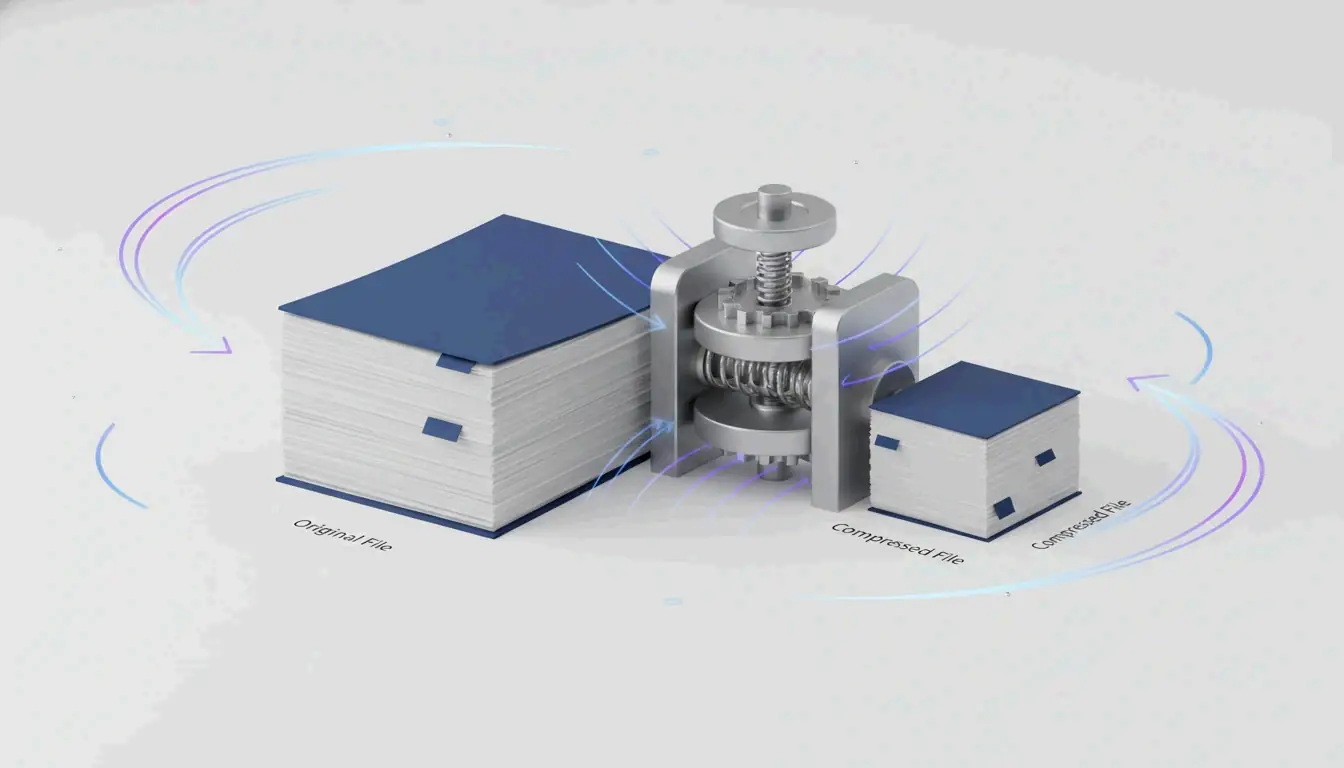
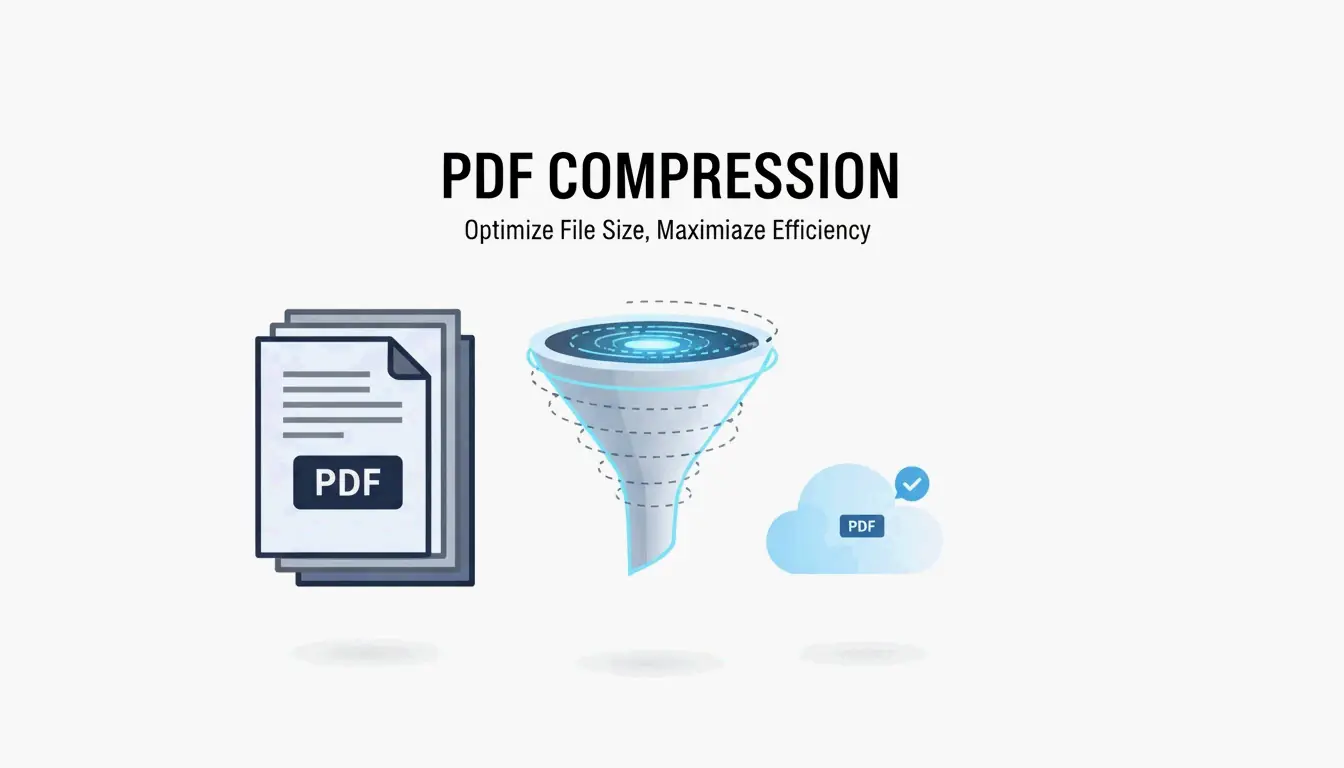
To compress PDF on iPhone in 2026, the fastest method is the built-in Files app — long-press your document and tap “Optimize File Size.” For sensitive documents, use local browser-based tools that process in your device’s RAM. For precise size targets (e.g., 500KB for a government portal), use pdfFiller from the App Store.
Three Methods Compared
| Method | Speed | Privacy | Size Control | Batch | Best For |
|---|---|---|---|---|---|
| Files app (native) | Instant | Full (never leaves device) | None (automatic) | No | Quick everyday compression |
| Local browser tools | Fast | Full (processed in RAM) | Some (quality slider) | Limited | KYC documents, bank statements |
| pdfFiller (App Store) | Fast | Cloud upload | Precise MB targets | Yes | Government portals, tax forms |
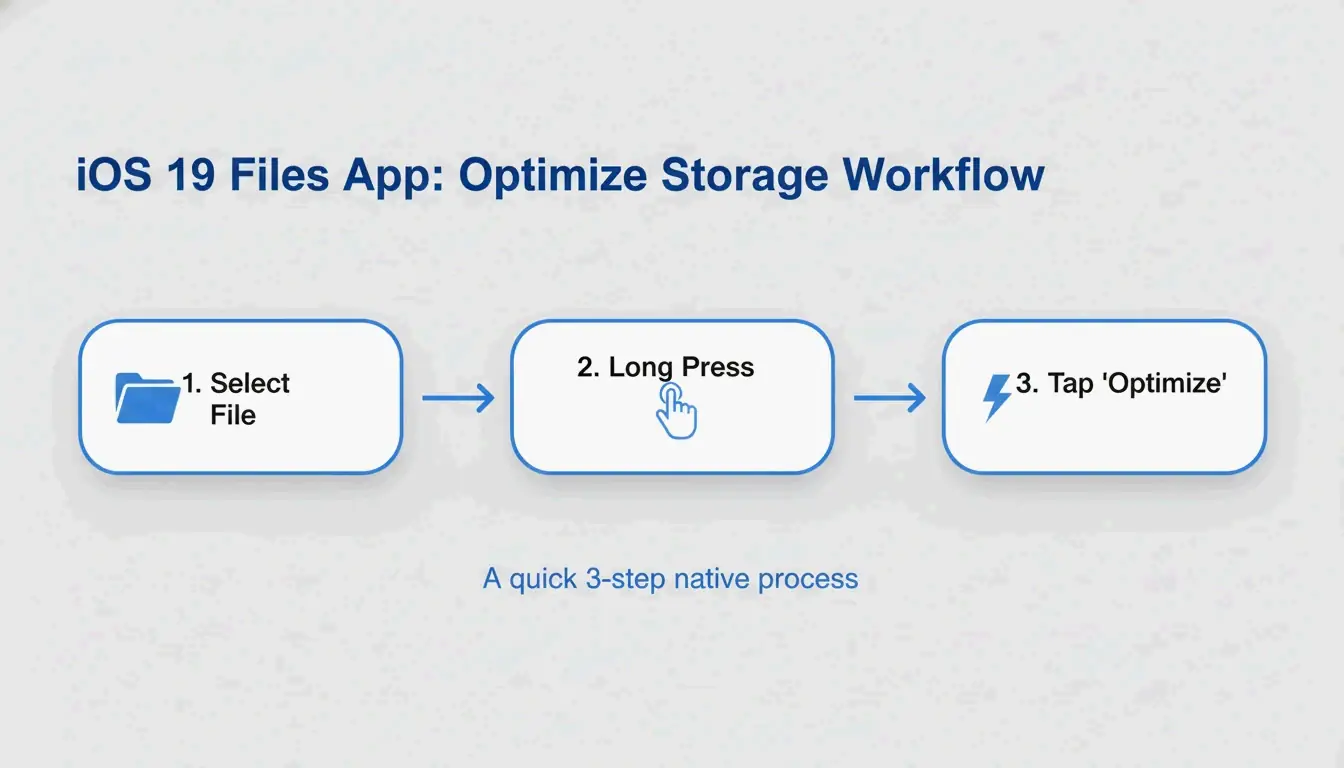
Method 1: Files App “Optimize File Size” (iOS 19+)
Apple built PDF compression directly into the Files app — no extra apps needed.
- Open the Files app on your iPhone
- Find the PDF you want to compress
- Long-press the file icon
- Tap “Optimize File Size”
- A smaller version appears in the same folder (usually named with “optimized”)
FreePDFCompress notes that modern compression re-encodes images and strips unused metadata, often cutting file size by up to 90% — while keeping vector text perfectly sharp.
Pros: Instant, free, fully private, no internet needed.
Cons: No size control (can’t target “exactly 500KB”), no batch processing.
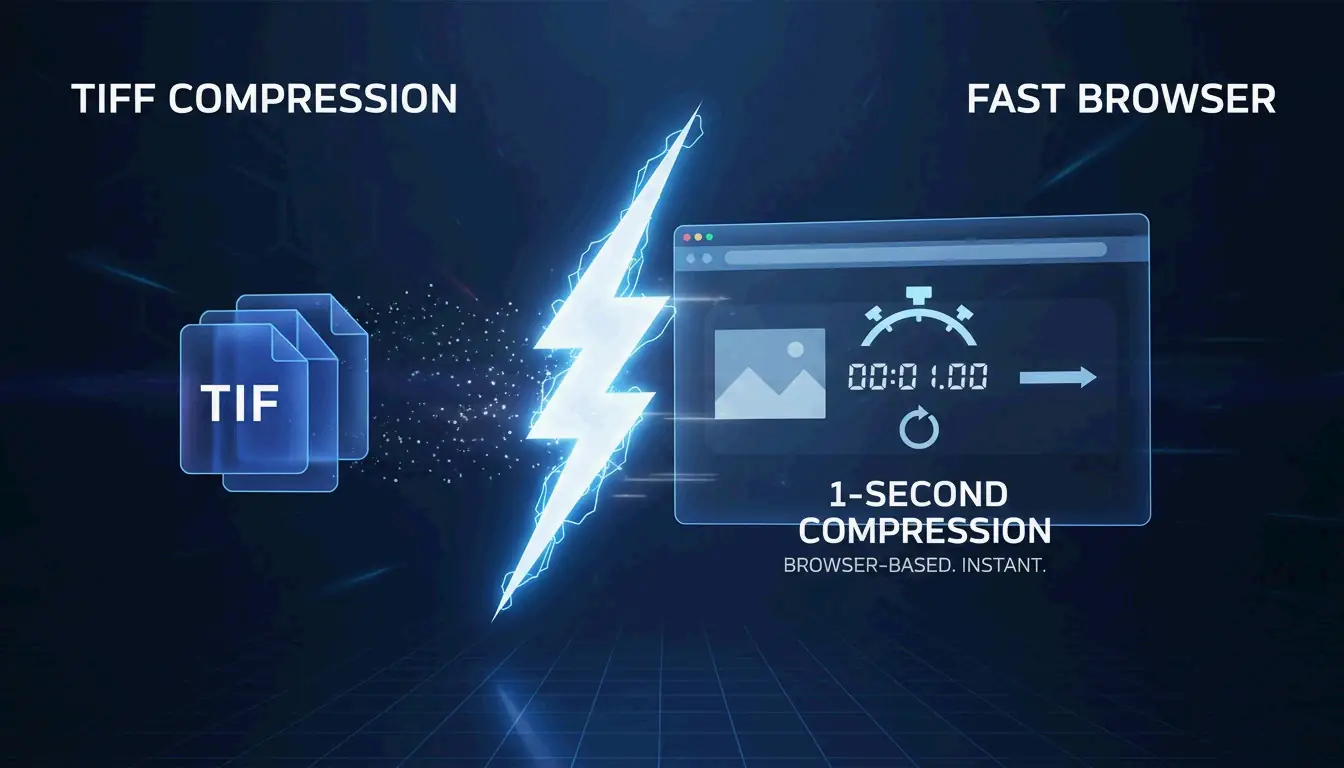
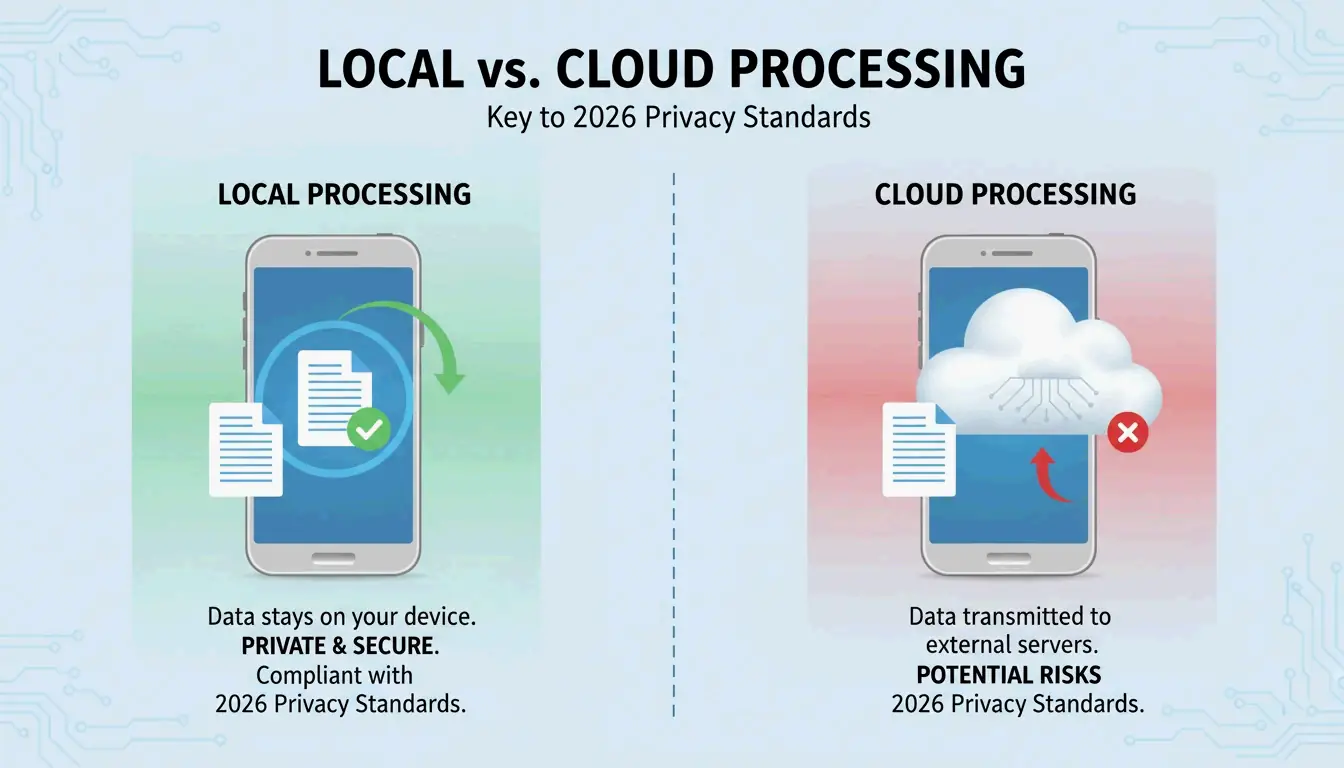
Method 2: Local Browser Tools (Maximum Privacy)
By 2026, privacy standards have shifted away from cloud-everything. Local browser tools use JavaScript to process PDFs entirely in your iPhone’s RAM — your data is never transmitted to any server.
FreePDFCompress confirms these tools still achieve 90% size reduction while keeping data fully on-device. In Safari, look for a “Processed Locally” badge as your guarantee.
When to use this method:
– KYC (Know Your Customer) paperwork
– Bank statements and tax documents
– ID scans and passport copies
– Any document you wouldn’t email to a stranger
Method 3: pdfFiller (Precise Size Targets)
When a government portal requires exactly 500KB or less, the native method’s “one-size-fits-all” approach isn’t enough. pdfFiller (App Store) lets you pick specific quality levels and see estimated file size before committing.
pdfFiller offers three compression levels — High, Medium, Low — with real-time size estimates.
- Download pdfFiller from the App Store
- Upload your PDF
- Tap Compress and pick your target level
- Save the optimized file
Supports batch processing for multiple files at once.
How PDF Compression Works: DPI, JPEG Re-encoding, and Vector Text
| Component | What Compression Does | Impact on Quality |
|---|---|---|
| Images | JPEG re-encoding at lower quality | Visible softening below 96 DPI |
| DPI (resolution) | Reduced from 300 → 96–150 DPI | Fine for screens; avoid for print |
| Vector text | Unchanged — stays crisp at any size | No quality loss |
| Metadata | Stripped (EXIF, unused fonts) | No visual impact; saves KB |
IRCC Canada recommends 96–150 DPI as the sweet spot for 2026 digital standards — keeps text sharp on phone screens while significantly reducing file weight.
Key insight: Text is vector-based and stays perfectly crisp regardless of compression. Only images and scans show quality changes.
2026 Upload Target Sizes
| Platform | Upload Limit | Recommended Target |
|---|---|---|
| Government / KYC portals | 200 KB – 2 MB | 500 KB |
| HR / Resume portals | 2 MB | 1 MB |
| Gmail / Outlook | 20–25 MB | 5 MB |
| WhatsApp (consumer) | 16 MB | 2 MB |
| WhatsApp Business | 100 MB | 10 MB |
Never re-compress a compressed PDF. FreePDFCompress warns that repeated compression creates artifacts and blurriness. Always start from the original document.
Conclusion
For everyday compression, the Files app is fastest and most private. For sensitive documents, use local browser tools with the “Processed Locally” badge. For precise size targets (government forms, tax submissions), use pdfFiller. Always verify text readability at 150 DPI before submitting.
FAQ
Will compressing a PDF damage text readability?
No. PDF text is vector-based — it stays sharp at any compression level. Only embedded images and scans are affected by DPI reduction. FreePDFCompress confirms 150 DPI keeps everything readable on 2026 mobile screens.
How do I compress a PDF to exactly 200KB or 500KB?
The native Files app doesn’t offer size control. Use pdfFiller or StrongPDF — both offer quality sliders and presets. To reach 200KB, you typically need to drop image resolution to 96 DPI.
Is it safe to upload confidential PDFs to online compression servers?
For sensitive documents (IDs, bank statements, tax forms), avoid cloud-based compressors. Use local browser tools that process in your device’s RAM. Look for a “Processed Locally” badge to confirm your data never leaves your phone.
SectoJoy
Let Compress publishes practical guides for compression, conversion, and browser-based file workflows.
Follow SectoJoy