كيفية ضغط JPG: تقليل حجم الملف دون فقدان الجودة (2026)
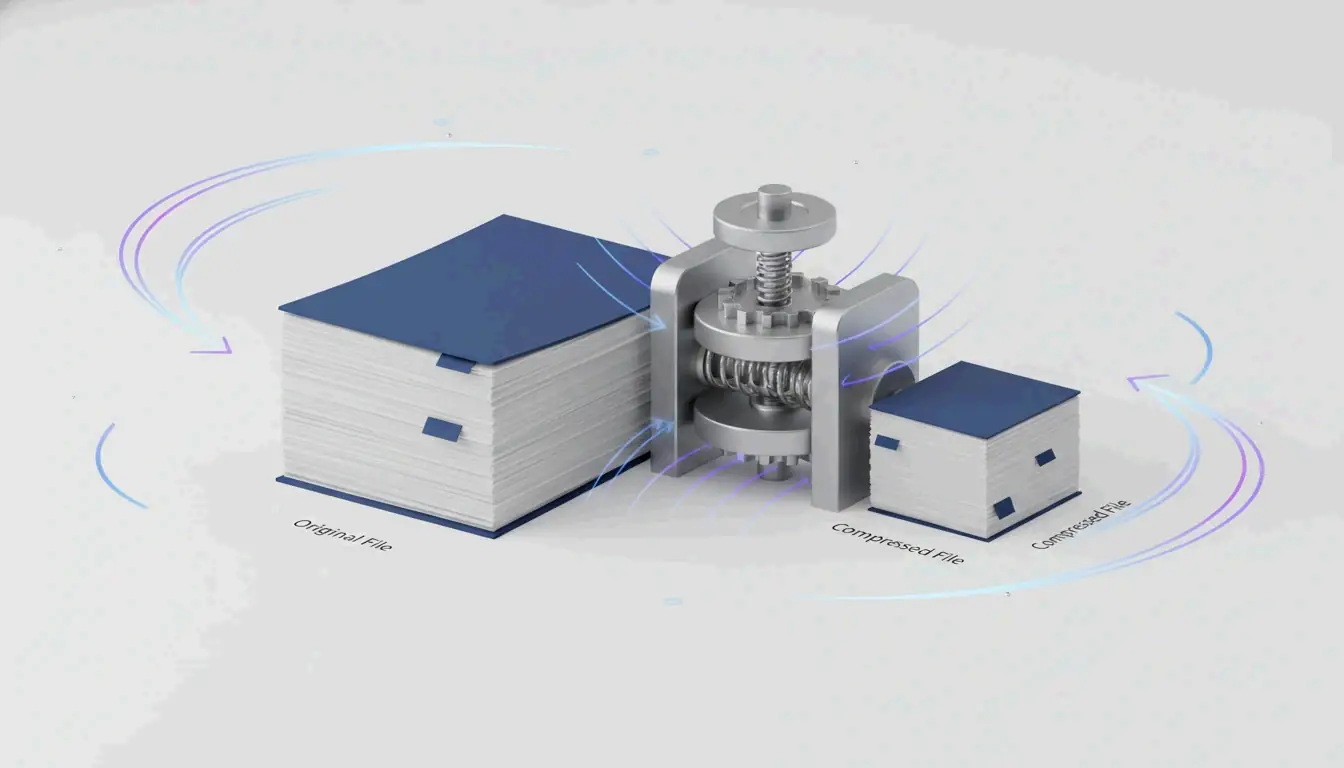
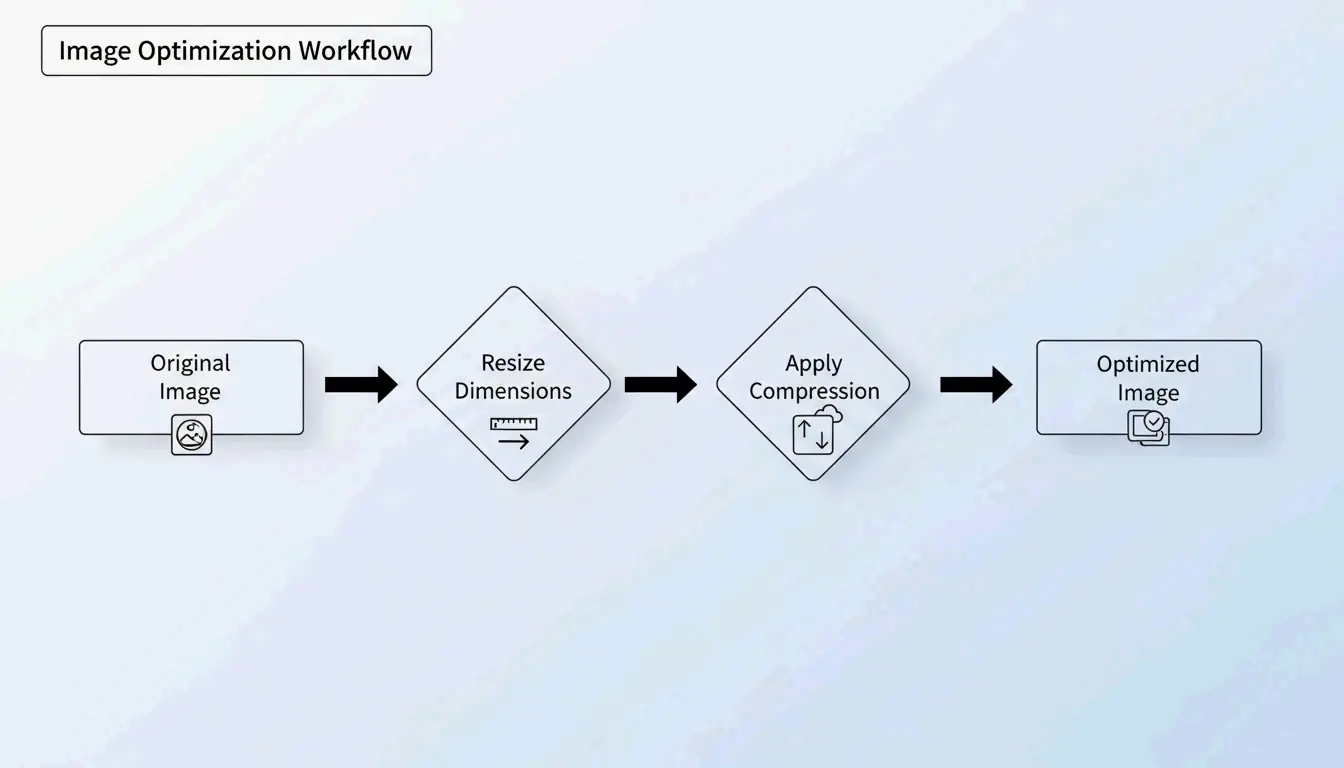
أنجح طريقة لـضغط JPG تتم عبر عملية من خطوتين: إعادة تحجيم أبعاد الصورة لتناسب احتياجات العرض لديك، ثم تطبيق الضغط الفاقد عند جودة 75–85%. هذا الأسلوب قادر على تقليل أحجام الملفات بنسبة تصل إلى 98% — من 5MB إلى 100KB — مع بقاء الصور واضحة للعين المجردة، وفقاً لـShortPixel.
بروتوكول “أعد التحجيم ثم اضغط”
إذا ضغطت صورة ضخمة بحجم 5MB دون تغيير أبعادها، فغالباً ما تكون النتيجة ضبابية أو متقطعة الأحجام (pixelated). يتجنب المحترفون ذلك بالتعامل مع متغيرين كلٌ على حدة:
- إعادة التحجيم — تقليل أبعاد البكسلات لتتناسب مع حجم العرض الفعلي
- الضغط — تطبيق تقليل الجودة الفاقد عند 75–85%
لماذا نعيد التحجيم أولاً؟
إذا كان موقعك يعرض صورة بعرض 1200px، فإن رفع صورة أصلية بعرض 4000px يهدر النطاق الترددي على “بكسلات شبحية” لا يراها أحد. إعادة التحجيم أولاً تتيح لخوارزمية الضغط تركيز طاقتها على البيانات المرئية.
أثبت ShortPixel أن صورة بحجم 5MB تتم إعادة تحجيمها ثم ضغطها تنخفض إلى 100KB — أي تقليل بنسبة 98% — مع بقائها واضحة بصرياً.
كيف يعمل الضغط الفاقد: DCT بلغة مبسطة
يعتمد ضغط JPG على تحويل جيب التمام المتقطع (DCT). تقوم الخوارزمية بتقسيم الصورة إلى كتل من 8×8 بكسل وتحويل البيانات البصرية إلى مكونات تردد. ثم تقوم بتقريب التفاصيل عالية التردد — التدرجات اللونية الدقيقة التي تتجاهلها عيناك — لتوفير المساحة.
كما يشرح GWAA، فإن نطاق الجودة 75–85% هو النقطة المثالية للاستخدام على الويب:
| إعداد الجودة | تقليل حجم الملف | التأثير البصري |
|---|---|---|
| 90–100% | ضئيل (10–20%) | لا يكاد يظهر فرق مرئي |
| 75–85% | 40–70% | بالكاد ملحوظ بدون مقارنة جنباً إلى جنب |
| 50–70% | 70–85% | ليونة طفيفة، مقبول للصور المصغرة |
| 30–40% | 85–95% | تشوّهات مرئية، مناسب فقط لحدود الرفع الصارمة |

أفضل أدوات ضغط JPG في 2026
الأدوات عبر الإنترنت
| الأداة | الأنسب لـ | الميزة الأساسية | الخصوصية |
|---|---|---|---|
| TinyIMG | متاجر Shopify، الاستخدام الجماعي على الويب | مدعومة بالذكاء الاصطناعي، تقليل يصل إلى 98% | على الخادم |
| ShortPixel | مواقع WordPress، المطوّرون | API + إضافة، معالجة دفعية | على الخادم |
| AllImageTools | الضغط الذي يقدم الأولوية للخصوصية | معالجة من جانب العميل (لا يتم رفعها إطلاقاً) | داخل المتصفح فقط |
| GWAA | الضغط السريع لمرة واحدة | لا حاجة إلى حساب | على الخادم |
أدوات سطح المكتب الأصلية
- Windows: افتح تطبيق الصور Photos ← “إعادة تحجيم الصورة” ← اضبط شريط الجودة
- Mac: افتح Preview ← أدوات Tools ← ضبط الحجم Adjust Size ← قلّل الدقة والجودة
للمطوّرين: ImageMagick
يوصي Bitget Academy باستخدام ImageMagick للمعالجة الدفعية:
convert input.jpg -quality 85 output.jpg

mogrify -quality 85 -path ./optimized/ *.jpg
احذف بيانات EXIF الوصفية لمزيد من التوفير
تحتوي كل صورة JPG على بيانات EXIF وصفية مخفية — إعدادات الكاميرا، التواريخ، إحداثيات GPS. إنها عبء زائد بالنسبة للمواقع. ألغِ تحديد خيار “Keep Exif” في أداة الضغط لتوفير بضعة كيلوبايتات إضافية لكل صورة دون تغيير بكسل واحد.
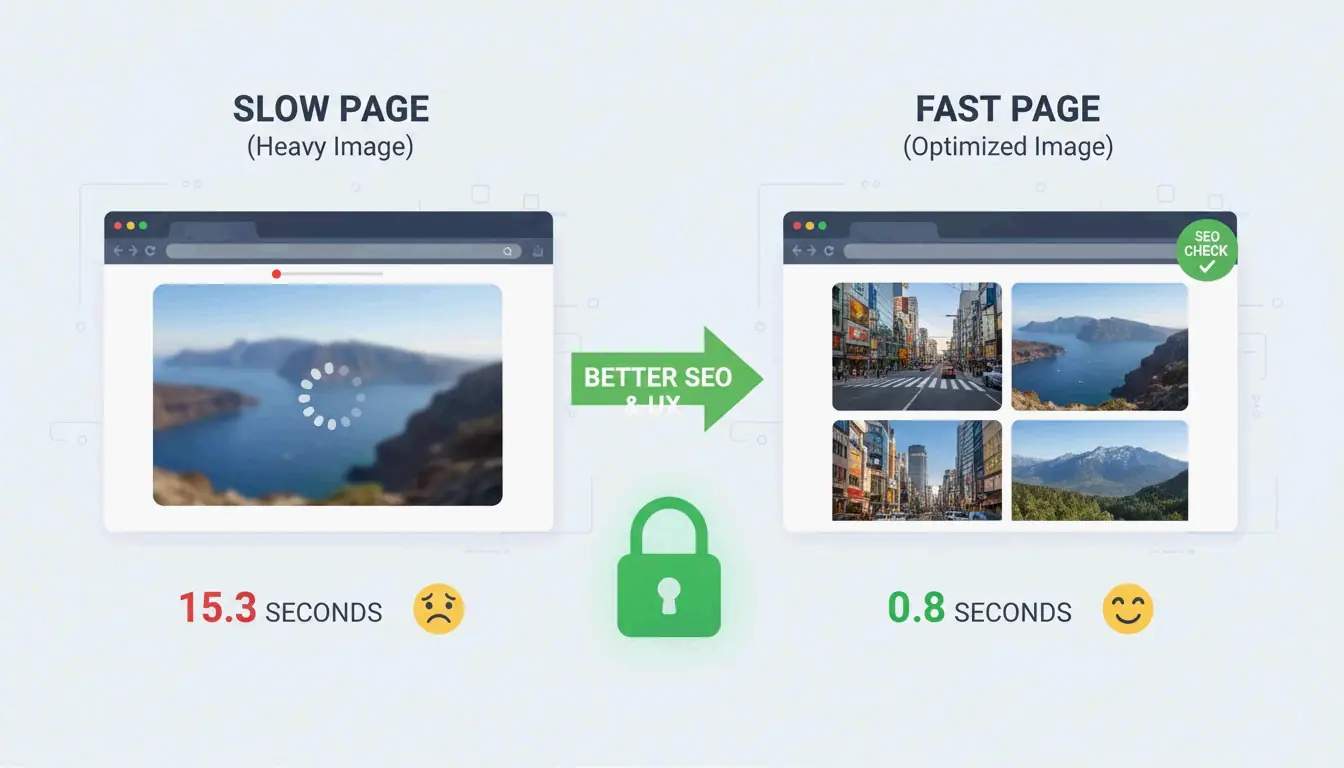
تأثير SEO: Core Web Vitals ووزن الصور
حجم ملف الصورة هو السبب رقم #1 في إخفاق المواقع في اختبار أسرع عرض لمحتوى أساسي (LCP) — وهو مقياس ضمن Core Web Vitals تستخدمه Google في الترتيب.
- 53% من مستخدمي الهواتف المحمولة يتخلون عن المواقع التي يستغرق تحميلها أكثر من 3 ثوانٍ (AllImageTools)
- صيغتا WebP و AVIF أصغر بنسبة 25–34% من JPEG عند نفس الجودة (Google Developers)
في تحسين محركات البحث لعام 2026، اضغط صور JPG لتكون أقل من 200KB للصور البطلة (hero) وأقل من 100KB للصور القياسية ضمن المحتوى.
استكشاف الأخطاء: عندما تكون صورة JPG لا تزال كبيرة جداً
إذا كنت بحاجة للوصول إلى حد صارم (مثلاً 100KB لنموذج حكومي):
- أنزل شريط الجودة إلى 30–40% — سترى بعض التشويش، لكن حجم الملف يتقلص بشكل كبير
- لا تعد ضغط صورة JPG مضغوطة مسبقاً — يؤدي هذا إلى “فقدان الأجيال (generation loss)” الذي يُتدهور الجودة بشكل أُسي. ابدأ دائماً من الأصل
- جرّب الضغط العصبي بالذكاء الاصطناعي — أدوات مثل Nero AI وTinyIMG تزيل التفاصيل فقط في الأماكن الأقل حساسية للعين البشرية
الخلاصة
ضغط صور JPG بفعالية يعني إعادة التحجيم أولاً، ثم تطبيق الضغط الفاقد عند 75–85%. يقدم هذا البروتوكول ذو الخطوتين تقليلًا في حجم الملف بنسبة 40–98% مع أدنى تأثير بصري ملحوظ. في عام 2026، اجعل التحسين عادة ما قبل الرفع: تحقق من Google PageSpeed Insights، استخدم ShortPixel أو TinyIMG على أثقل صورك، وفكر في الانتقال إلى WebP أو AVIF لمكاسب SEO إضافية.
الأسئلة الشائعة
هل 50 KB حجم صغير بما يكفي لمعظم نماذج الويب؟
نعم. تضع معظم بوابات الحكومة والمدارس والوظائف حدوداً تتراوح بين 100KB و500KB. بالنسبة لصور الملف الشخصي، فإن 50KB هدف ممتاز. أما صور الصفحة الرئيسية البطلة (hero)، فابقَ تحت 200KB.
هل تؤدي عملية ضغط صورة JPG عدة مرات إلى إفساد الجودة؟
نعم — يسبب هذا فقدان الأجيال (generation loss). JPEG صيغة فاقدة، لذا كل إعادة ضغط تحذف المزيد من البيانات وتُحدث تشوّهات مرئية. اضغط دائماً من الملف الأصلي عالي الجودة، وليس أبداً من نسخة مضغوطة بالفعل.
لماذا نستخدم JPEG بدلاً من PNG للصور الفوتوغرافية؟
الضغط الفاقد في JPEG مصمم للصور التي تحوي ملايين الألوان، وينتج ملفات أصغر بنسبة 5–10x من PNG لنفس الصورة الفوتوغرافية. PNG صيغة غير فاقدة وأفضل للشعارات والنصوص والصور التي تتطلب الشفافية — لكنه يجعل ملفات الصور الفوتوغرافية كبيرة بلا داعٍ.
SectoJoy
Let Compress publishes practical guides for compression, conversion, and browser-based file workflows.
Follow SectoJoy