How to Compress JPG: Reduce File Size Without Losing Quality (2026)
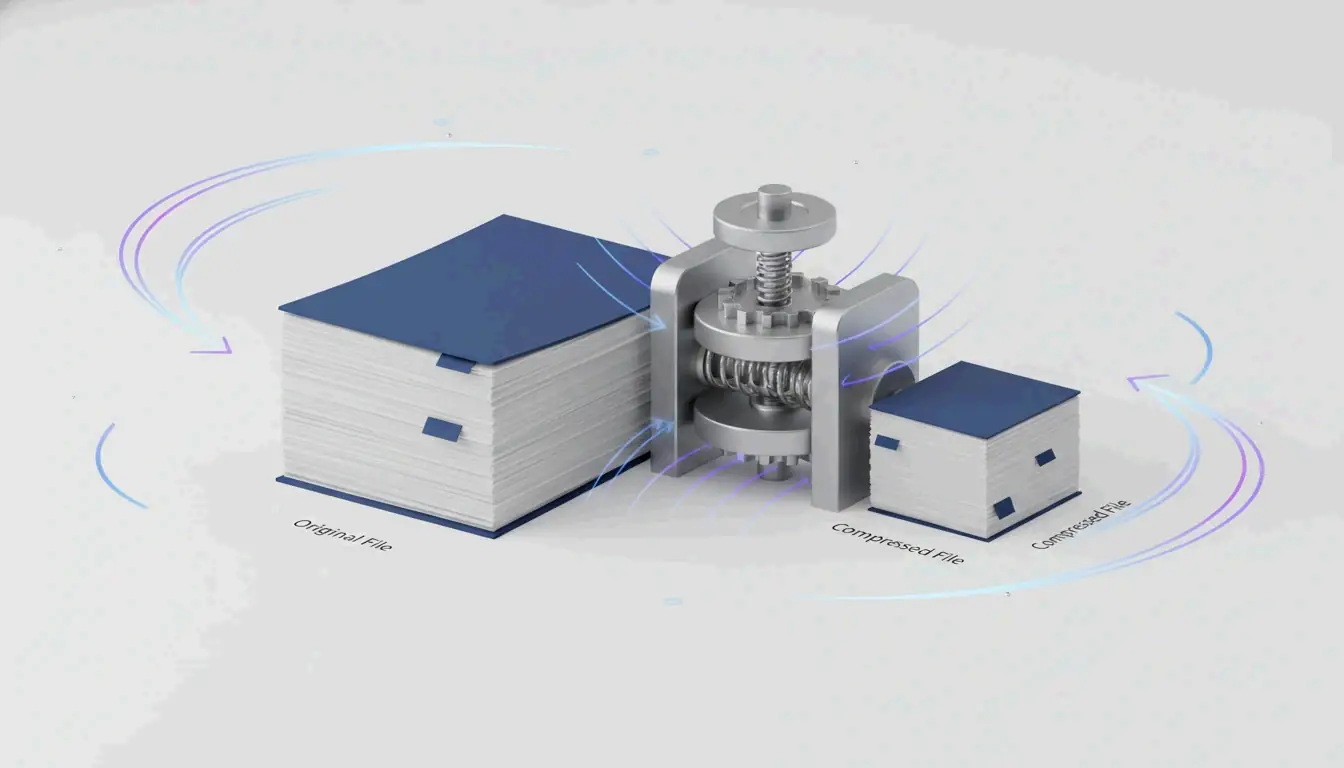
The most effective way to compress JPG files is a two-step process: resize the image dimensions to match your display needs, then apply lossy compression at 75–85% quality. This approach can cut file sizes by up to 98% — from 5MB to 100KB — while keeping images crisp to the naked eye, according to ShortPixel.
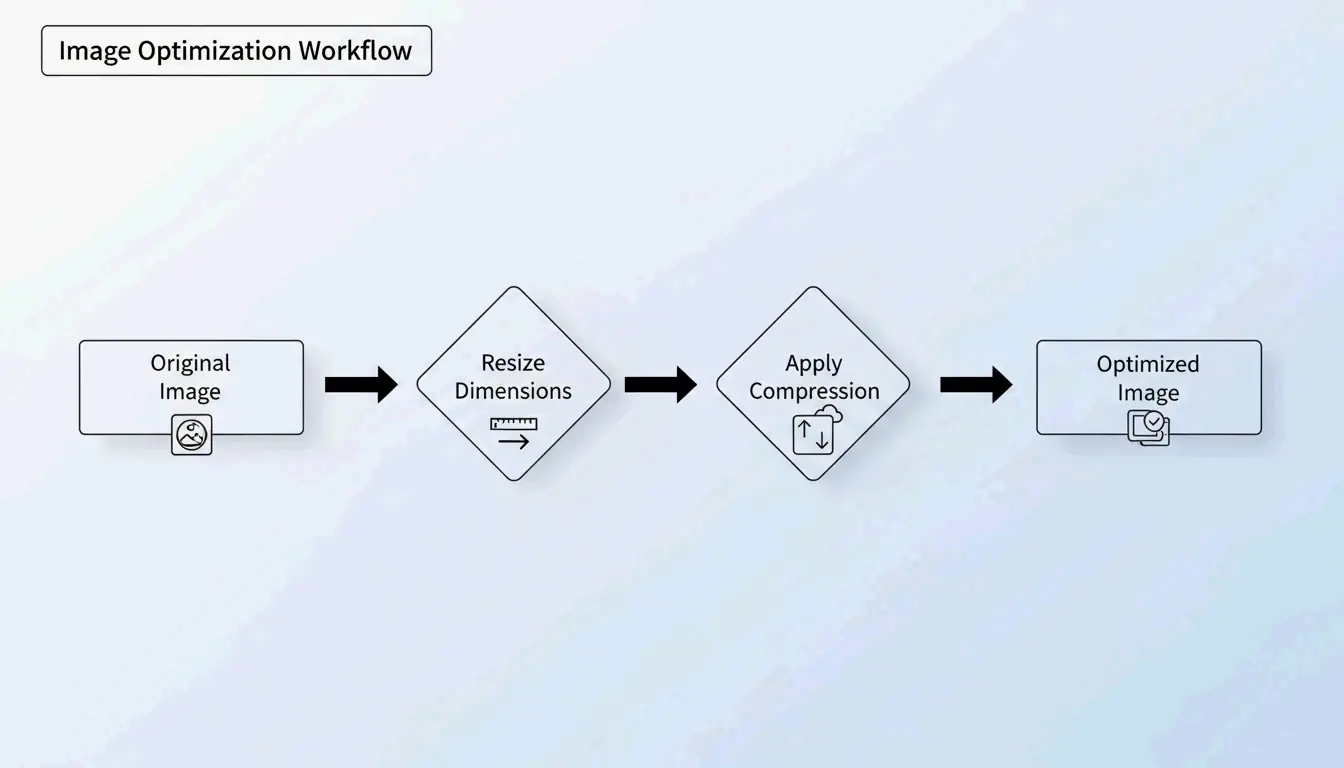
The “Resize Then Compress” Protocol
If you compress a massive 5MB photo without changing its dimensions, the result is often blurry or pixelated. Professionals avoid this by tackling two variables independently:
- Resize — Reduce the pixel dimensions to match the actual display size
- Compress — Apply lossy quality reduction at 75–85%
Why Resize First?
If your website displays an image at 1200px wide, uploading a 4000px original wastes bandwidth on “ghost pixels” that no one sees. Resizing first lets the compression algorithm focus its power on visible data.
ShortPixel demonstrated that a 5MB image resized then compressed drops to 100KB — a 98% reduction — while remaining visually crisp.
How Lossy Compression Works: DCT in Plain Terms
JPG compression relies on Discrete Cosine Transform (DCT). The algorithm divides the image into 8×8 pixel blocks and converts visual data into frequency components. It then rounds off high-frequency details — subtle color variations your eyes ignore — to save space.
As GWAA explains, the 75–85% quality range is the sweet spot for web use:
| Quality Setting | File Size Reduction | Visual Impact |
|---|---|---|
| 90–100% | Minimal (10–20%) | Virtually no visible difference |
| 75–85% | 40–70% | Barely noticeable without side-by-side comparison |
| 50–70% | 70–85% | Slight softening, acceptable for thumbnails |
| 30–40% | 85–95% | Visible artifacts, suitable only for strict upload limits |

Best Tools to Compress JPG in 2026
Online Tools
| Tool | Best For | Key Feature | Privacy |
|---|---|---|---|
| TinyIMG | Shopify stores, bulk web use | AI-driven, up to 98% reduction | Server-side |
| ShortPixel | WordPress sites, developers | API + plugin, batch processing | Server-side |
| AllImageTools | Privacy-first compression | Client-side processing (never uploaded) | Browser-only |
| GWAA | Quick one-off compression | No account needed | Server-side |
Native Desktop Tools
- Windows: Open the Photos app → “Resize image” → adjust quality slider
- Mac: Open Preview → Tools → Adjust Size → reduce resolution and quality
For Developers: ImageMagick
Bitget Academy recommends ImageMagick for batch processing:
convert input.jpg -quality 85 output.jpg

# Batch process entire folder
mogrify -quality 85 -path ./optimized/ *.jpg
Strip EXIF Metadata for Extra Savings
Every JPG contains hidden EXIF metadata — camera settings, dates, GPS coordinates. Dead weight for websites. Uncheck “Keep Exif” in your compression tool to save a few extra KB per image without changing a single pixel.
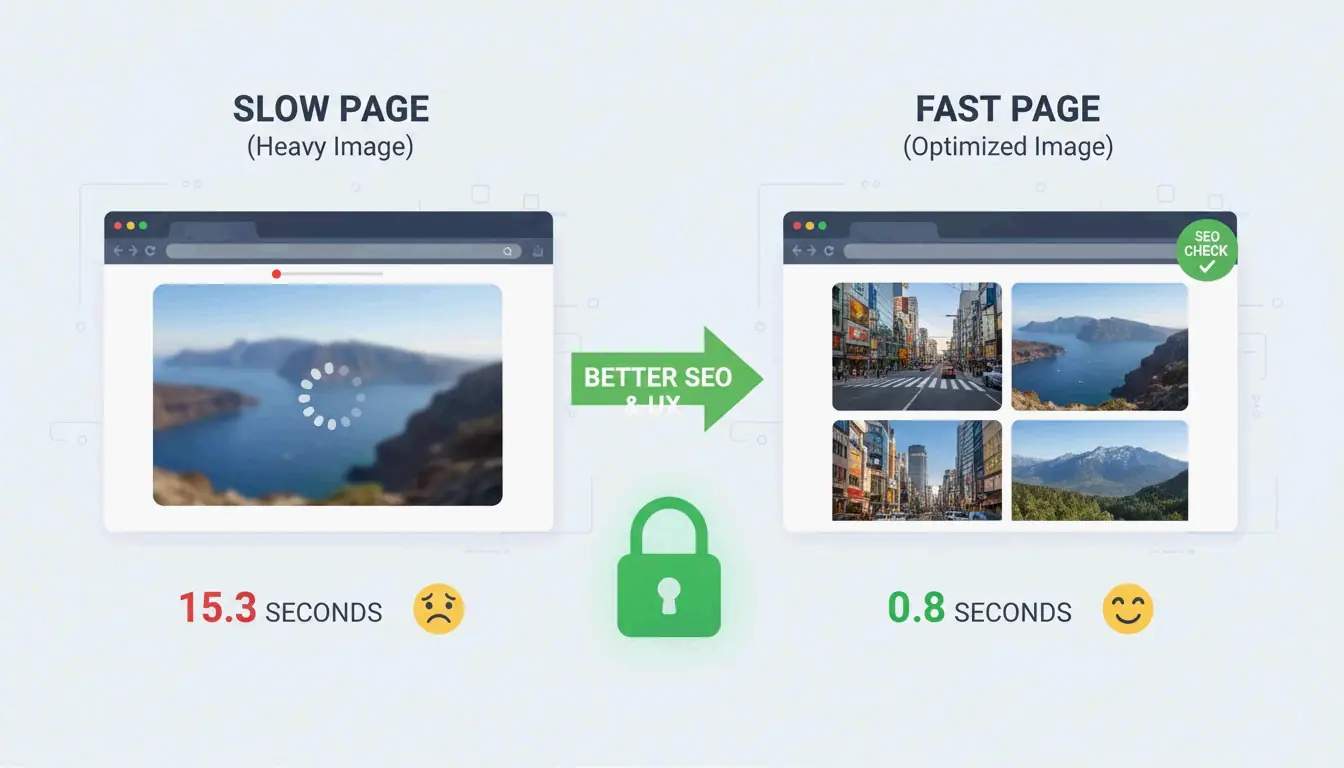
SEO Impact: Core Web Vitals and Image Weight
Image file size is the #1 reason sites fail the Largest Contentful Paint (LCP) test — a Core Web Vitals metric Google uses for ranking.
- 53% of mobile users abandon sites that take more than 3 seconds to load (AllImageTools)
- WebP and AVIF formats are 25–34% smaller than JPEG at equivalent quality (Google Developers)
For 2026 SEO, compress JPGs to under 200KB for hero images and under 100KB for standard content images.
Troubleshooting: When Your JPG Is Still Too Large
If you need to hit a strict limit (e.g., 100KB for a government form):
- Drop the quality slider to 30–40% — You will see some noise, but the file shrinks dramatically
- Never re-compress a compressed JPG — This causes “generation loss,” degrading quality exponentially. Always start from the original
- Try AI neural compression — Tools like Nero AI and TinyIMG remove detail only where the human eye is least sensitive
Conclusion
Compressing JPGs effectively means resizing first, then applying 75–85% lossy compression. This two-step protocol delivers 40–98% file size reduction with minimal visible impact. For 2026, make optimization a pre-upload habit: check Google PageSpeed Insights, use ShortPixel or TinyIMG on your heaviest images, and consider switching to WebP or AVIF for additional SEO gains.
FAQ
Is 50 KB small enough for most web forms?
Yes. Most government, school, and job portals set limits between 100KB and 500KB. For profile pictures, 50KB is an excellent target. For homepage hero images, stay under 200KB.
Does compressing a JPG multiple times ruin quality?
Yes — this causes generation loss. JPEG is lossy, so every re-compression deletes more data, creating visible artifacts. Always compress from the original high-quality file, never from an already-compressed version.
Why use JPEG instead of PNG for photographs?
JPEG’s lossy compression is designed for photos with millions of colors, producing files 5–10x smaller than PNG for the same photograph. PNG is lossless and better for logos, text, and images requiring transparency — but it makes photo files unnecessarily large.
SectoJoy
Let Compress publishes practical guides for compression, conversion, and browser-based file workflows.
Follow SectoJoy